Showing posts with label Crafts. Show all posts

Thursday, August 23, 2012

A Peek at the Geek....

I have had a couple of messages asking about what my "studio" looks like, so here is a peek!  Plus some past crafts I've done for my family and myself.

Well there it is.  The "studio".  HA!  Really it's just part of the dining room, which is really the kitchen (eat-in kitchen... I say whatever to that.  It's just a big kitchen, saying there is a dining room here is trickery).  You see, we moved here when we were a family of three... and then came the twins.  So, with it being only a two bedroom apartment, here is my office and all the poor kids are in one room.  Thank heaven their room is just as big as the master, and all their beds fit no problem. Oh, and see my pink computer? My husband custom built it for me! :)  Way cheaper than buying a pre built system and ... it's pink!
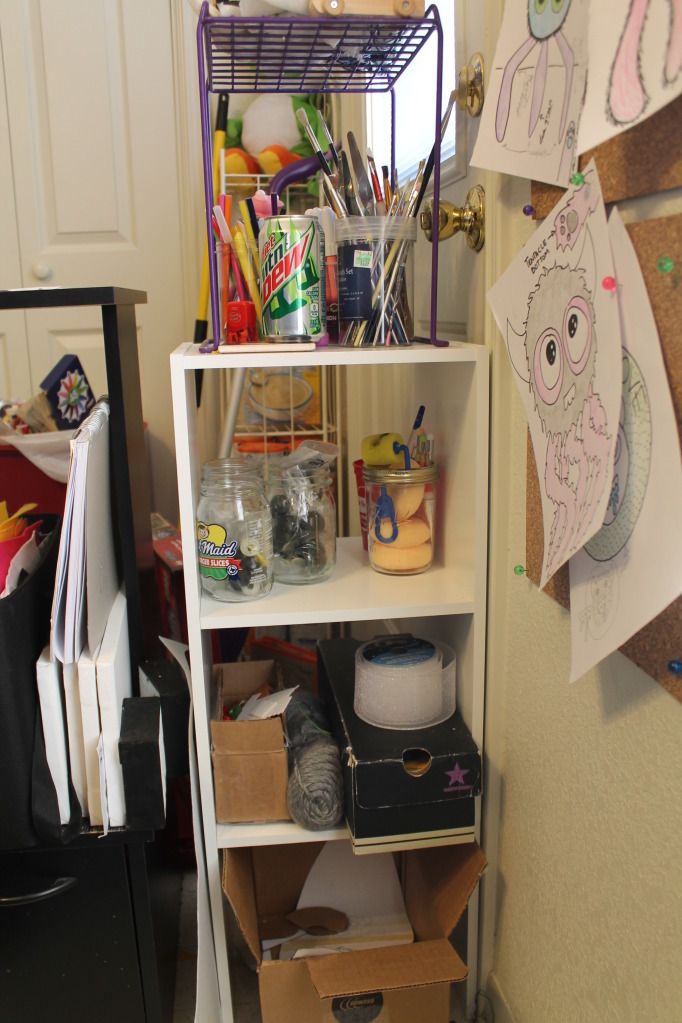

With a space this small, organization is key.  Everything in my area (besides craft supplies and some decoration) was originally used for something else or is being repurposed.  My second desk used to be my husband's computer desk a few years ago before he needed an upgrade.  

If it's a good sized small box, I take it for storage.  If it's a glass jar, I use it for my safety eyes.  I have been collecting butter and cream cheese containers when they are empty so I can decorate them later and label them for separating safety eye sizes.  The plan is to take an old cookie sheet, paint it, attach magnets to the bottom of the plastic containers and voila!  Hang the cookie sheet and I have awesome eye storage.  But that  is still a work in progress.

I had to take some shelving we bought originally for my closet and my old locker shelf from high school to add some accessable storage.  Works pretty well, for now.  I got those cork board for less than $10 at Target for a set of four! They come in useful, and were worth the investment.
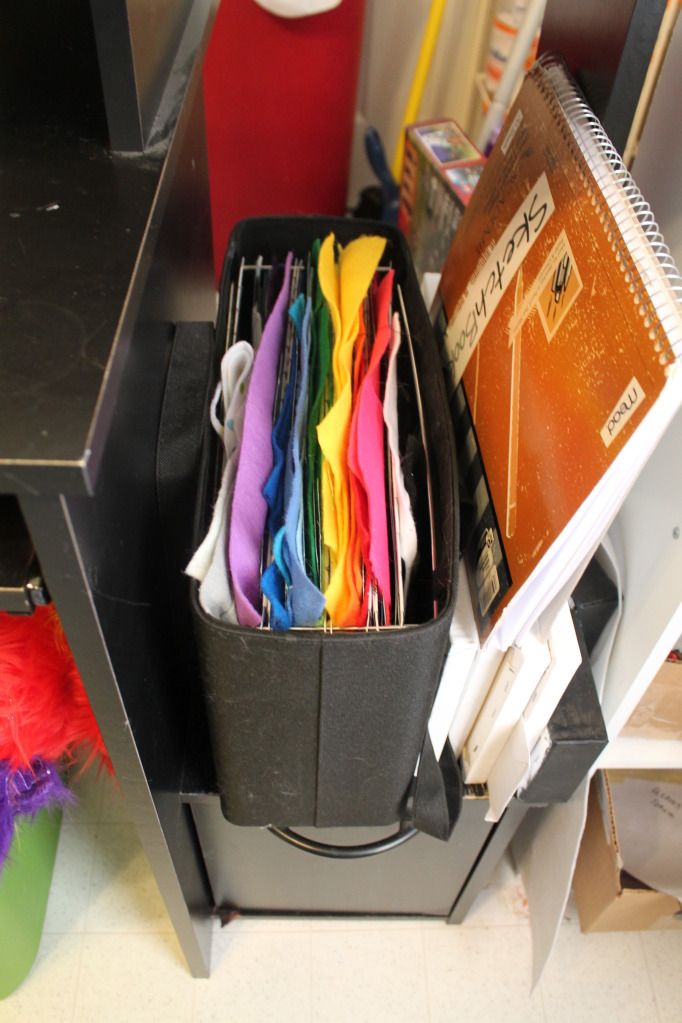

I always look for things on clearance, as well.  Crafting and working a business on a one-salary family of five... not so easy.  So cutting prices where I can is essential.  I found this file folder, which is actually a hard cloth covered bag that came with 20 folders, on clearance at Wal-Mart for a few dollars.  It's excellent for felt storage.  Any small scraps of felt I always store in a big gallon sized baggy instead of throwing away, so I won't have to cut into an entire sheet later if I just need a small piece. Why was this on clearance?  A tiny tear by one of the handles in the fabric.  Really?  Drop of hot glue, good as new, and I save a ton of money.
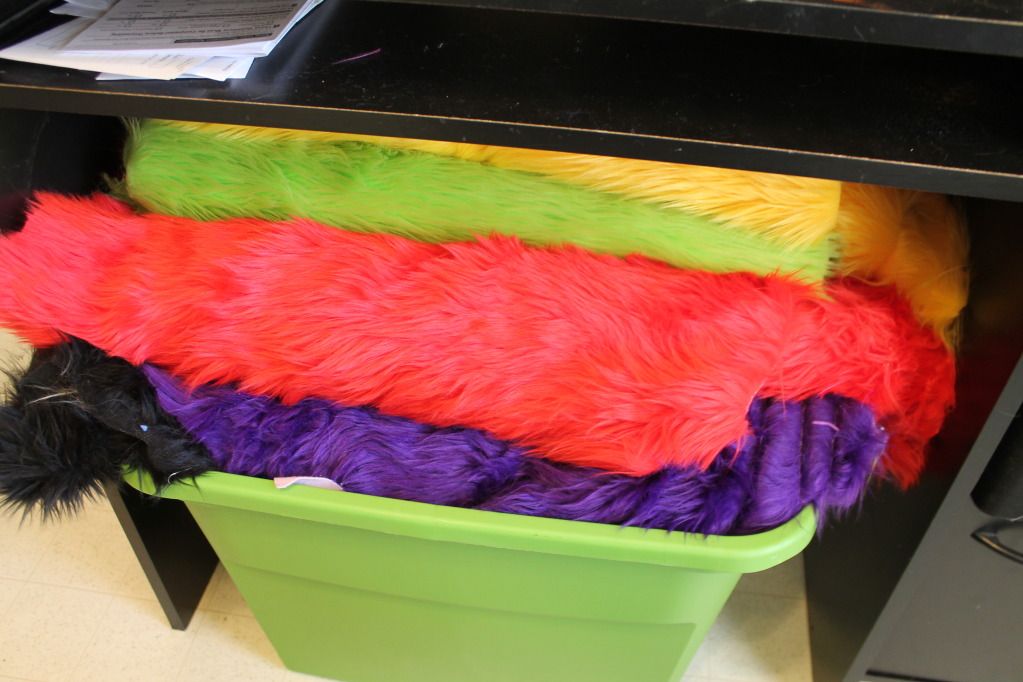
The one thing that is a pain is my fabric storage.  Hello, big tub of fur. Finding storage for this is a work in progress, and this works for now.  The tub fits snugly under my desk, and the fabric is accessable, and kept away from dust.

Something else odd you may have noticed is this little conundrum.  Anyone know what it is?  It's a home made lightbox!  Just take a fairly large cardboard box, cut windows in three of the sides and remove the flaps completely from the top.  Tape wax paper or white tissue paper over the windows, add fabric in the background and floor, and shine lamps through the windows! You get professional looking pictures, without paying $50-75 for a real lightbox.  I got the fabric on clearance, the box came from a shipment of fabric or computer parts from my husband (I can't remember which, but it doesn't matter), and the wax paper was just from the roll from the kitchen.  My lightbox cost about $2.50 to make!  Plus, the fabric can be changed out. May look bad from far away, but the pictures are all that matters.


A close up of my computer area.  My husband got me the murloc mousepad for Christmas last year!  Also, you can see all my hoops in progress, and my toy collection.  I made the Yoshi egg out of a wooden egg and acrylic paint.  There is also a tiny Batman lunchbox and my windrider cub, and my collectable Sylvannas.  If you play World of Warcraft, you know what I'm talking about here.  You can also see my two lamps I use for my lightbox.  Five dollars a piece at Wal-Mart, and lamps are always useful for other things.  

Under my mousepad is my drawing tablet.  My husband found it on Newegg, open box refurbished for $20. Does everything I need it to.  I can sketch on the tablet and it goes into a drawing program on the computer. Handy.

We had to sacrifice the back door functioning in order to give me enough space to have a drawing and sewing area as well.  At least I get a window by my desk!  You can see my poor stuffed Yoshi has been uncerimoniously thrown on the baker's rack in the corner with all the baby food.  That rack is full of formula at the beginning of every month, and just about empty at the end of the month.  Twins eat a LOT of formula!  But the cans are reusable for other things.  If you have babies that eat rice, don't buy the cans of rice! Just pour the cheaper boxes of rice into an empty formula can. Ta-da!  Your own can of rice! And just save a formula scoop to go with it, for easy measuring.


My beautiful window decor!  I have a thing about Yoshi eggs.  They are just cute.  I also have a floating teeny yoshi egg in a one inch glass bottle I made, along with a tiny ocarina in another bottle beside it.

And just a few awesome things I have done in the past year or so...
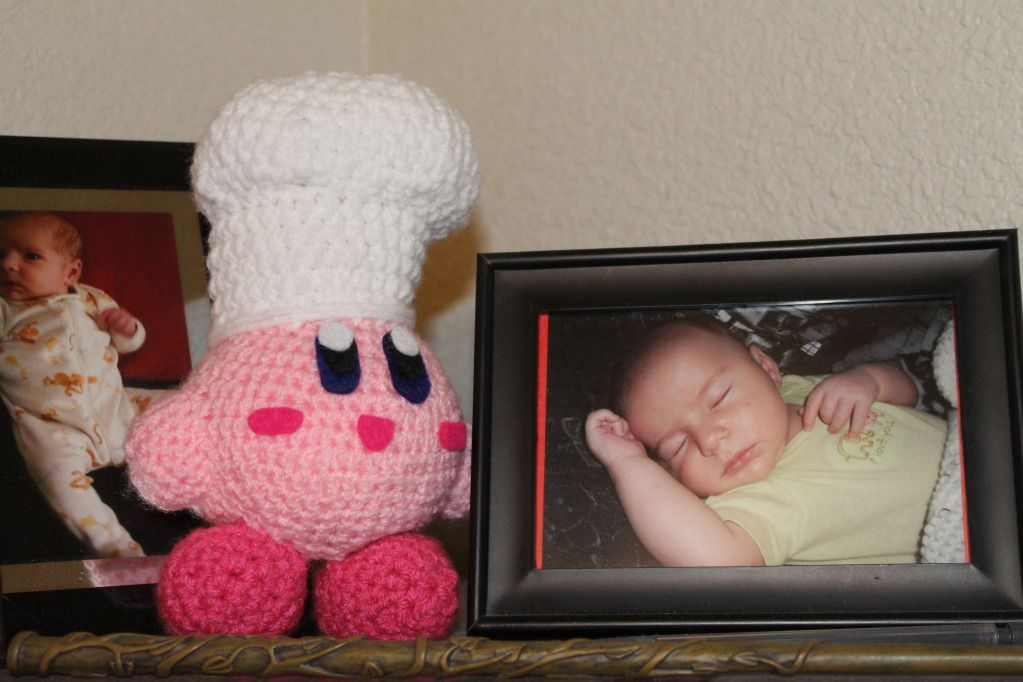

I used to crochet a lot more, but since I moved on to sewing and hoopla I haven't had much time for it.  But this guy is still hanging around, my Chef Kirby.  He is gaurding Hermione's wand!


I also made him a huge counterpart, if you can see him buried under all my kid's toys.  That kirby is about two feet tall.  The name on the wall was simple to make.  Just buttons on white wooden letters attached with hot glue!

One last question I have gotten more than once is "what is that tattoo on your arm?"  I guess its slightly visible in my youtube video where I'm making the three baby monsters.  Well... I warned you I was a geek.


The answer: The crest of Hyrule.  I love Zelda games, way way too much.

Until next time! I have two new monsters in the works, got to get sewing!


Monday, August 20, 2012

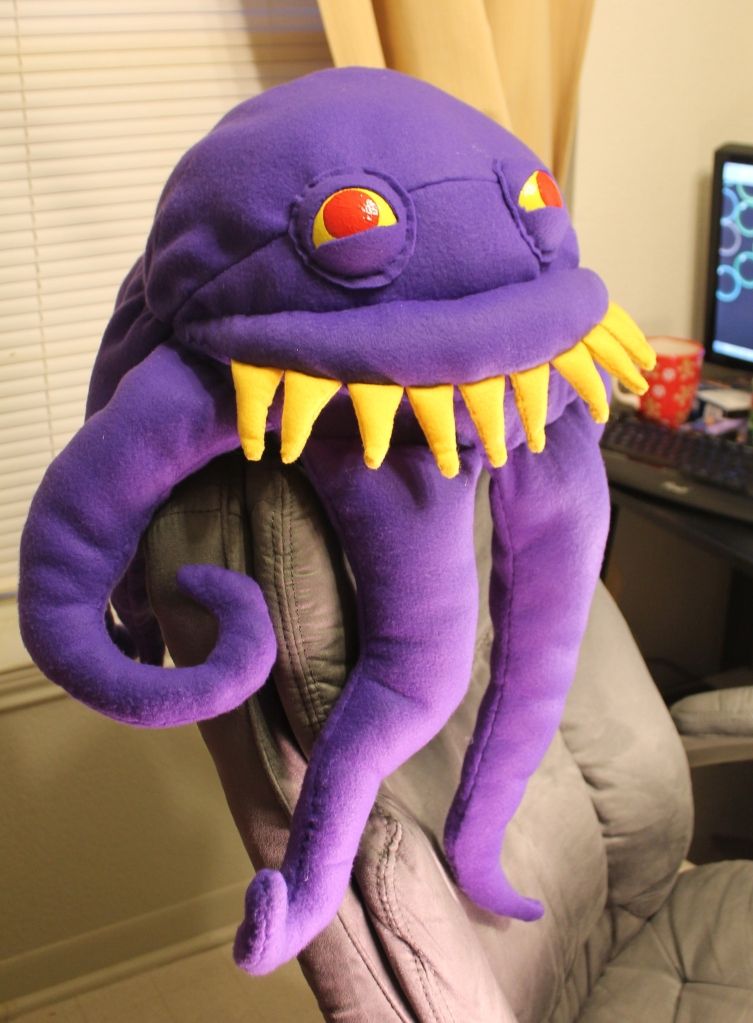
Ultros from FFVI

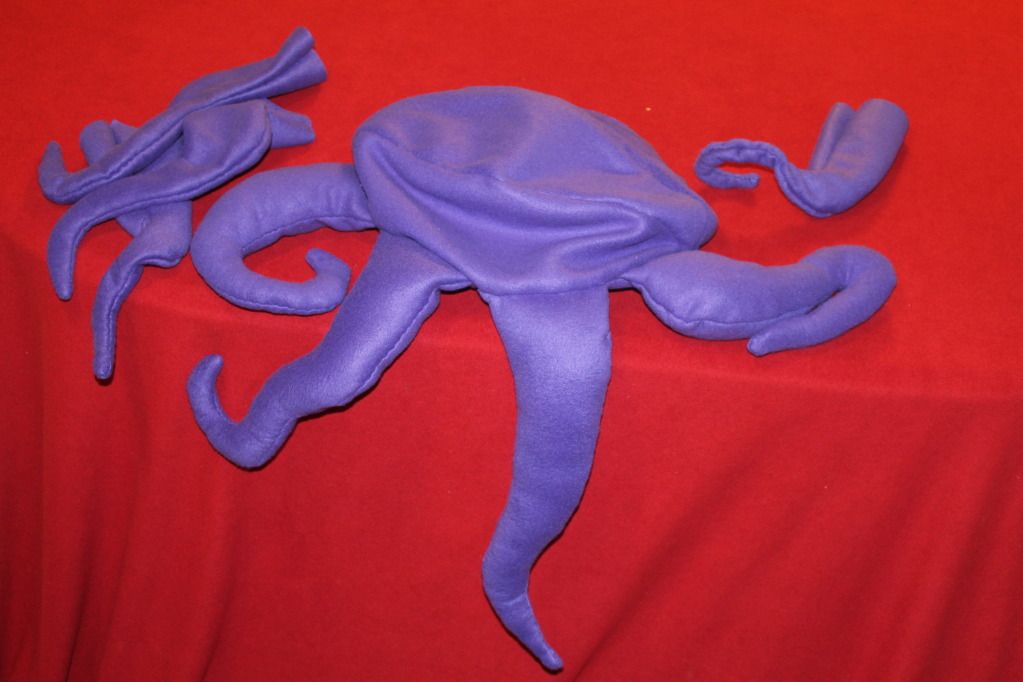
Finished Ultros!  He's the octopus from Final Fantasy VI I've been working on this week.  He ended up measuring about 3 feet in length.


I never made a plush completely from fleece, but man is it forgiving fabric!  I could even use his legs as pincushions and the holes just disappeared when I took out the pins.  He has a polar fleece body, legs and eyelids.  His teeth are 3 inches long made of felt.


The eyes were a bit tricky.  I couldn't find the right colors anywhere, so I had to customize my own safety eyes.  It's not too difficult.  I know of two ways to customize eyes.  One, if you need a black pupil you can just get clear safety eyes and paint the backs of them before applying them to the plush.  With these eyes I needed a red pupil, so I had to customize full black eyes.  I bought the largest I could find (60mm), painted them with acrylics and sealed them with clear nail polish.  The polish just needs to be applied to completely dry paint, then left for a day to dry thoroughly.  It creates a hard protective cover coat, doesn't chip easily, and makes a glassy look without the high price of buying acrylic sealant at the hobby store.  These eyes took six coats of paint (yellow on black is a nightmare) and three coats of polish.


 I honestly think he turned out amazing!  Here's the picture that I had to work with:


Hand sewing this took a while, though.  Glad I'll be getting my new sewing machine soon!!!  On that note::

KICKSTARTER UPDATE!


I met my $500 goal in ONE day!  It's amazing!  I didn't know people would love my plushies so much, but I'm honored they do.  It's truly what I want to do with my career, and launching this business means so much to me.  It will help me do something I love, as well as help support my three beautiful babies!  My husband is so supportive as well :)

My next goal is $1200.  Seems like a bit of a stretch (more than double what I wanted initially) but with 11 days left, I'm already over $900!!  With that extra $700 I could go to my first professional craft show and do business face to face with customers.  It would do WONDERS for my business!  That amount would cover rental fees, display cases, material for product, and transportation.  Here's to hoping!

And a braggy mom moment to end this post:


My twins rockin their chuck taylors! They will be four months old on the 23rd. Hard to imagine!  Also hard to imagine their brother will be 2 next month!!

Friday, August 17, 2012

geekyGAMERgirl Kickstarter

It's live!  The geekyGAMERgirl Kickstarter!  The goal is $500 to obtain a sewing machine and stock up on materials (so I don't have to save up for three months just to put new items in the shop!).  Even $1.00 donations get a reward so spread the word!

Click here to view the geekyGAMERgirl Kickstarter!

Also!  I officially applied to become a business and become self-employed yesterday (hooray!).  I had to to begin selling at craft shows!  It feels so official and completely awesome to say "I'm self-employed".

This does, however, mean that sales tax will apply in Texas beginning October 1!

And just a moment of mommy bragging ... my youngest twin is rolling over now, too!  All of this has put me in  such a good mood that I'm going to be completely crazy and post the newest item in the shop for $6.00, plus  S&H of $3.00 for one week only!  After that it goes to the regular price of $8.00 plus $3.00 S&H.

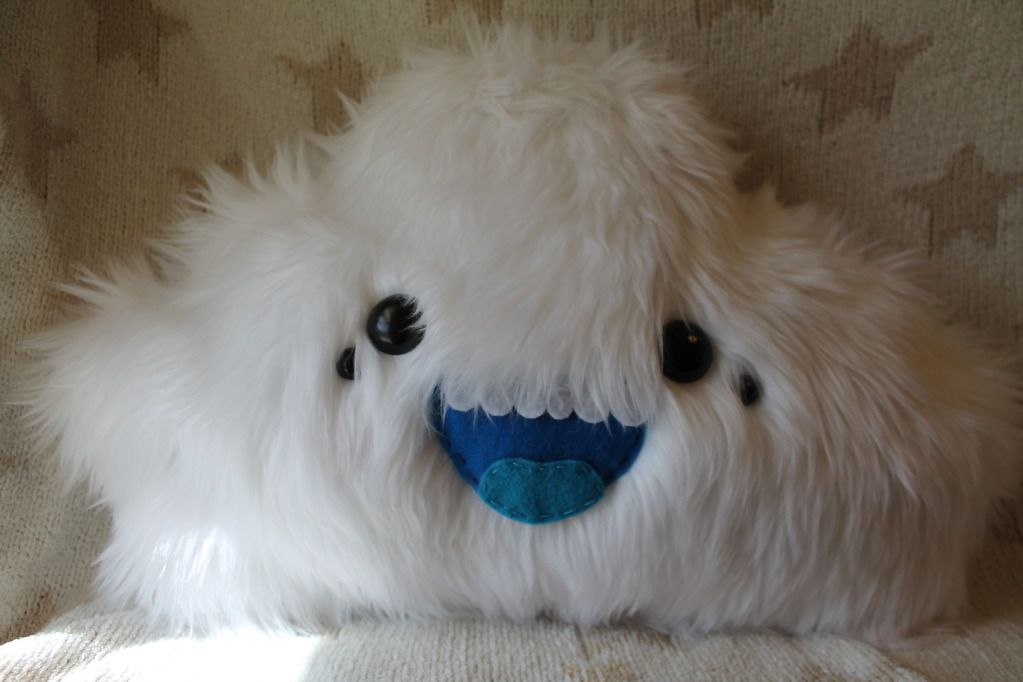
Say hello to the Puff Monsters!


Also, I'm currently working on a Ultros plush commission.  He's a baddie from the Final Fantasy series.  I'm waiting on huge 60mm eyes for him so I can finish him up!  I'll be sure to post him when he's done... He's going to be gigantic. So far his legs alone are about 21 inches... so he'll be about 2.5 - 3 feet tall.


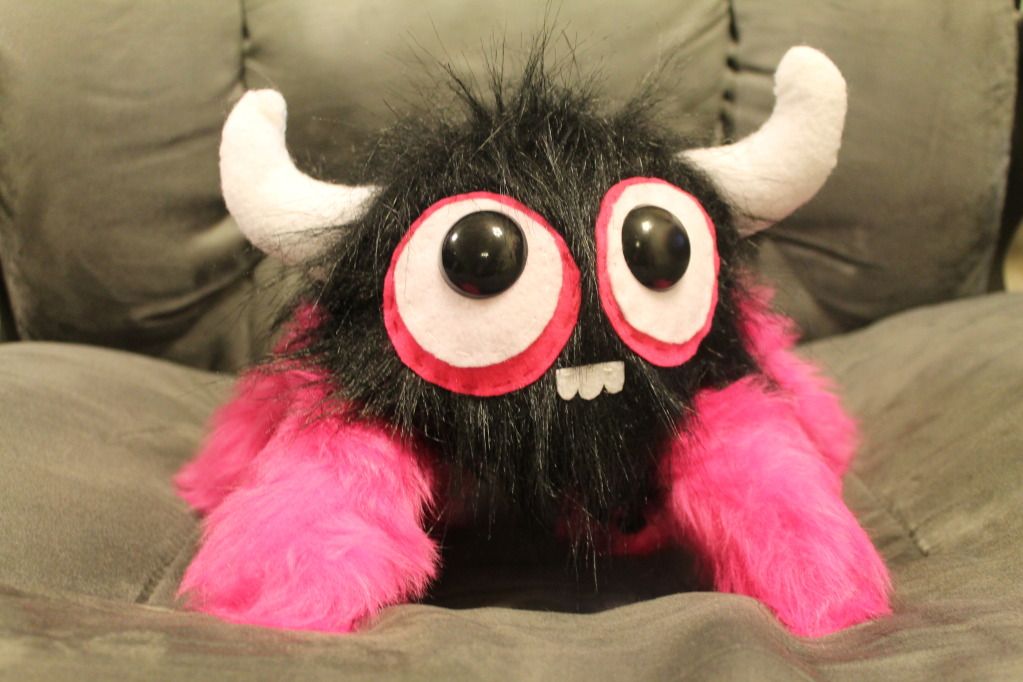
I'm also working on a "Surprise Monster" listing for the shop, which will be about $9 per monster.  I'm trying to keep things affordable for everyone because everyone deserves a monster friend! In this listing you will be able to get a monster from the "grab bag".  They will be 3 - 5 inch tall monsters such as this guy here!


There will be all sorts of monsters in this listing... some with legs, some with three eyes, maybe even some with wings!  Who knows?  Great for those who love surprises and hate choosing.  :)

Wednesday, August 8, 2012

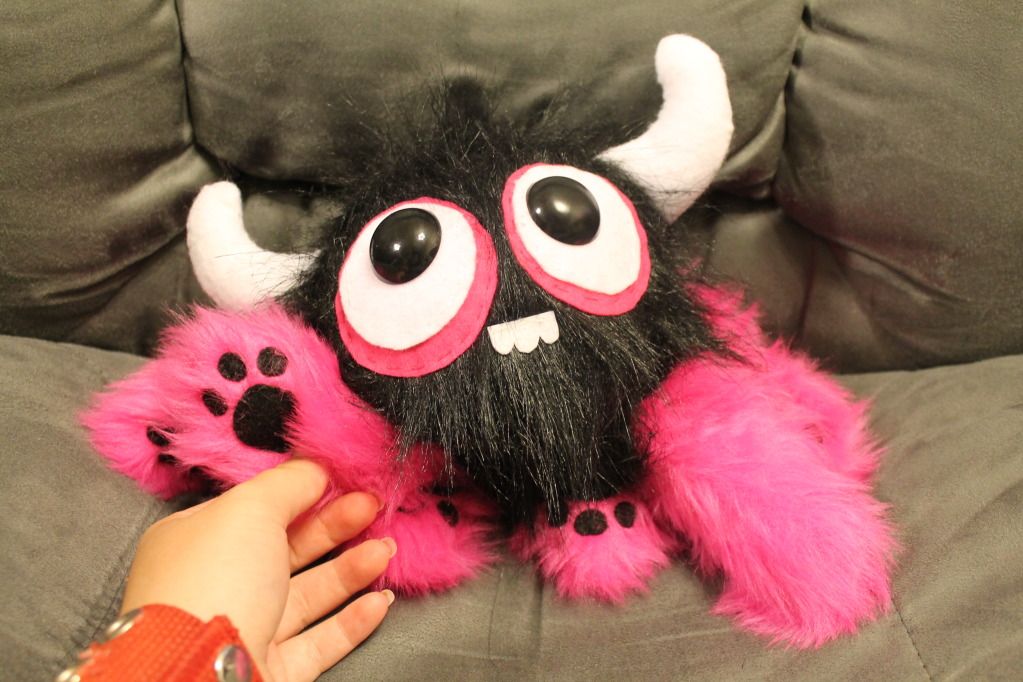
Spyster

The newest member of our little monster family: The Spyster.


I want to get better at my sphere sewing, so I'm trying to come up with patterns that utilize them.  I think he turned out pretty freaking cute.  He has six legs, with paw prints.  My son loves Blues Clues, and anything that has a paw print on it he goes insane over... so I had to do this little nod to him.


I video taped the entire sewing process, but I had to do it in several sittings over two days (watching three month old twins and a 22 month old is a bit distracting...).  We'll see if I can edit it into a passable time lapse.


Also!  A Kickstarter for geekyGAMERgirl should be up late this weekend, or early next week.  I'll post here  and keep everyone updated.  If you can't donate then spread the word!

I ordered a large batch of fabric earlier this week, so I should be cranking out tons of monsters by the end of the month. Woo!

Also - congratulations to Angela C. who won this month's giveaway!  She won a free customized baby cloud monster!  Didn't win?  I'll do another giveaway the first week of September.  Wonder what it'll be... ;)

Friday, August 3, 2012

Back to School!

My latest project that I did tonight wasn't a monster, but it was pretty cute so I'm going to blog about it any way.

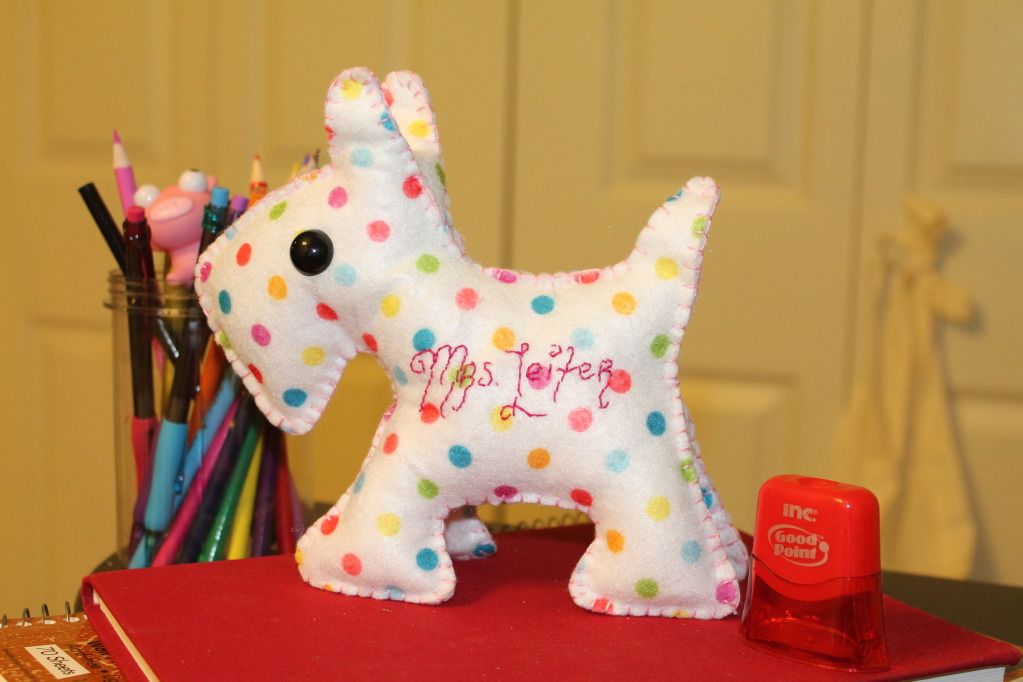
My sister, over at Teaching Chick, is getting ready for the start of school.  She's a fourth grade teacher, and a few weeks ago she saw my pincushion (you may have seen it flitting around in pictures and in my video) and said she wanted it.  I didn't really want to make her a pincushion since last I checked she didn't sew often.  So instead, I took the pattern (which is free and available here) and enlarged it, and made her a felt plush to match her classroom, which is done in polka dots.


I embroidered her name on the dog as well.  I figured she could use something soft to throw at students. (Kidding!)


You can see it's a simple pattern.  I used three pieces of 50 cent felt, pink DMC floss in three strands, poly-fil to fluff him up, and 15mm safety eyes.  In all, he cost about three dollars.  Pretty awesome for a nice, handmade and personalized gift.


Small felt projects like these are a great way to practice sewing by hand and learning new stitches.  I used a blanket stitch on the edges of the dog for a neat decorative look, and a back stitch for embroidering.


On the bottom middle seam I used a whip stitch with the seam facing in towards the inside of the dog.  If you don't know how to do these stitches, they are VERY easy.  The best how-to I've found for the blanket and whip stitches are at Futuregirl's Craft Blog.  This took about two and a half hours of work, but mainly because I was (ashamedly) playing Facebook games while sewing after the kids went to bed.

I ordered new fur!  Just a bit of it, and in some fun colors.  I'm planning on making little newborn monsters to give as rewards for my Kickstarter project (which should launch in the next two weeks sometime!).  I may also stock some in my Etsy store, simply because my sketch for them is too freaking cute to not share the finished product.

Oh! Also, my husband is amazing.  He found an open box drawing tablet on Newegg and bought it for me!  Awesome surprise. So now I will be able to sketch straight to the computer (or trace my current sketches) and share them on here!  

Wednesday, July 25, 2012

Free Giveaway!

I opened up a geekyGAMERgirl Facebook page! Woo!  To celebrate, let's do a giveaway.  That's right... free stuff!


a Rafflecopter giveaway

For participating in this giveaway, you will be entered in to win one CUSTOM baby cloud monster!  You will be able to pick your monster's face coloring and style (any color), fur coloring (white or gray) and number of eyes and size of eyes. You just tell me what you want your baby cloud monster to look like... I'll create it for free for the winner! (free shipping too!)

This contest is only available to US residents. Ends August 8, 2012.  Winner will be announced August 9, 2012! You must "LIKE" the geekyGAMERgirl Facebook page to enter, and in order to gain access to additional ways to enter more times.

I also wanted to share how I package my monsters.  It's important to be creative in your packaging, as well as your shop items.  Here's how I do it!


I wrap up the monsters in bright colorful tissue paper, include their original sketches and a packing slip and... voila!  My husband's reaction, when I first did this, was literally "WTH Heather...?".... but I love it.  It's personal, it's creative, and it's freaking cute.

Oh! And Adora has come by from her sky-cave to find a new home, as well. You can check her out on my Etsy.


And a big shout out to Matin Lapin for featuring our very own Trevor the Thundercloud Monster in her blog,  that you can read here, and in an Etsy treasury in honor of Ilyap'a Day that you can see here!  Check out her Etsy store, too.  She has a lot of cool items, see them here!


Tuesday, July 24, 2012

The Birth of the Cloud Monster

Lately, I've been sewing my fingers off.  I love making completely handmade plushies, and I've gotten rather good (if I can say so myself).  This is the first time I've worked with faux fur, and I think I'm in love.


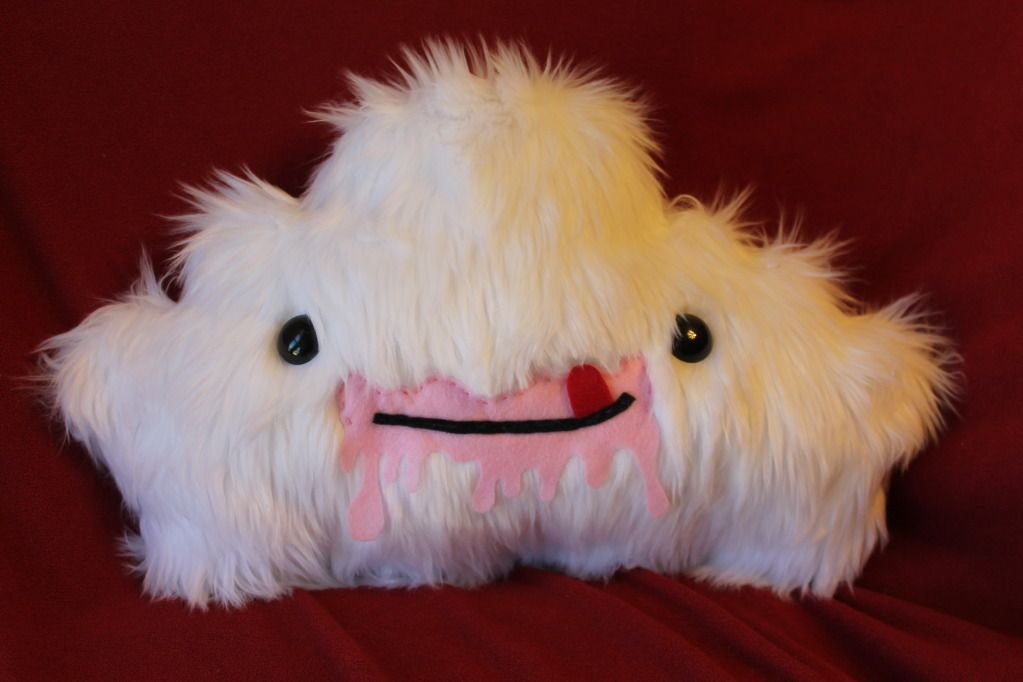
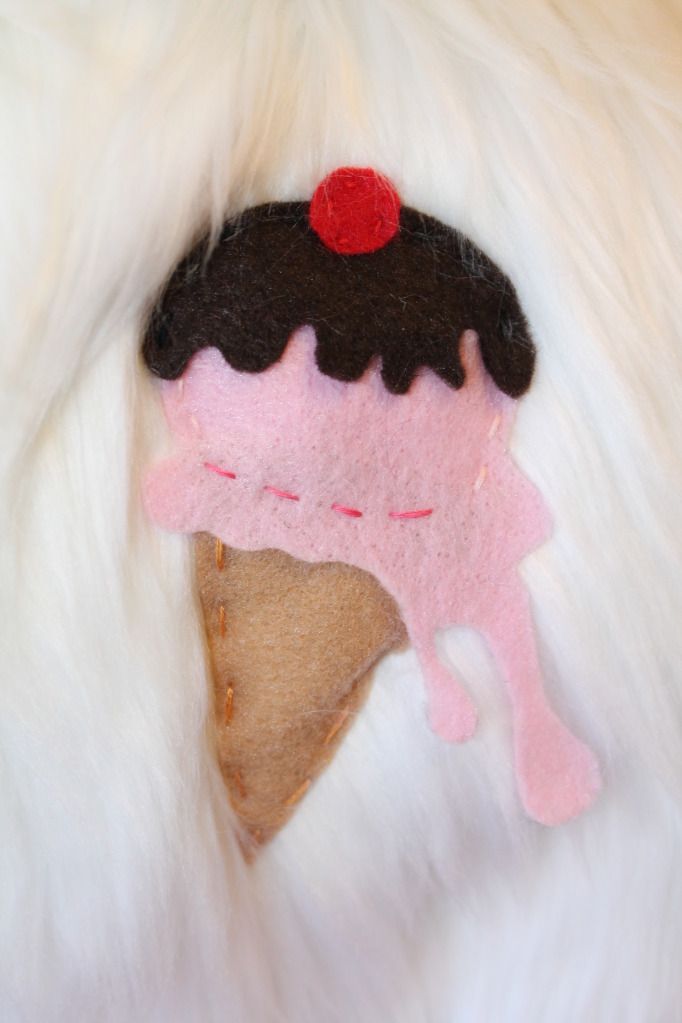
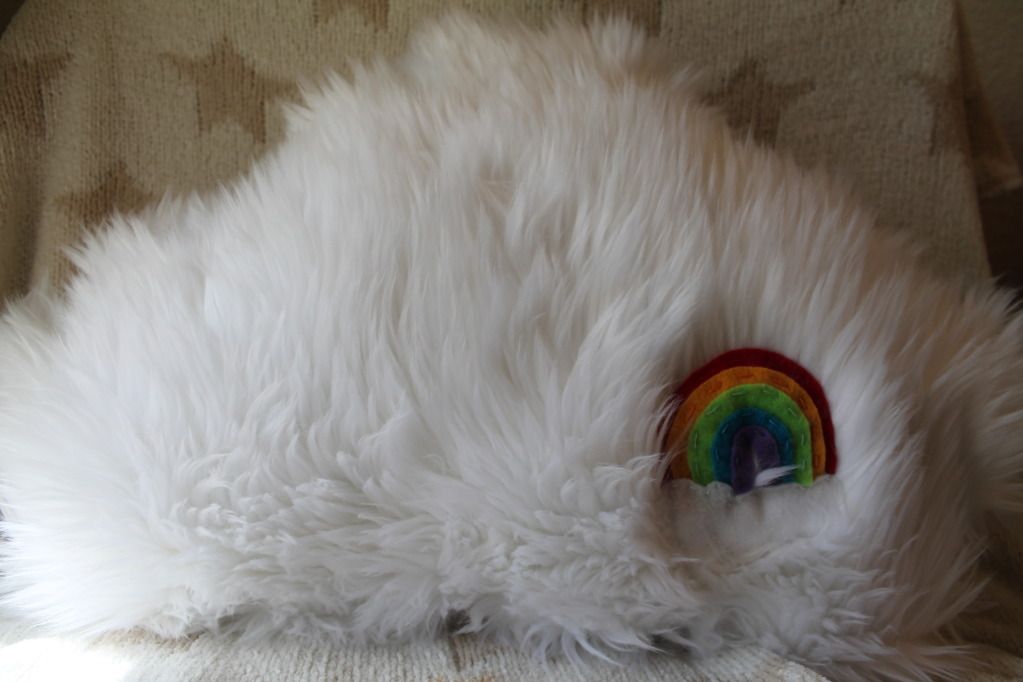
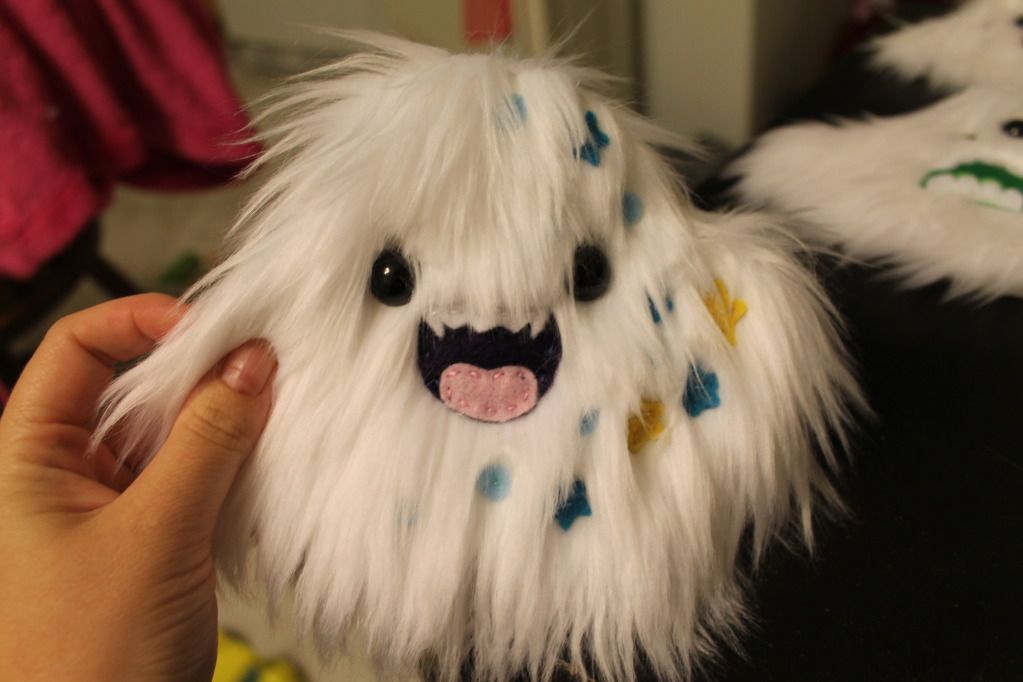
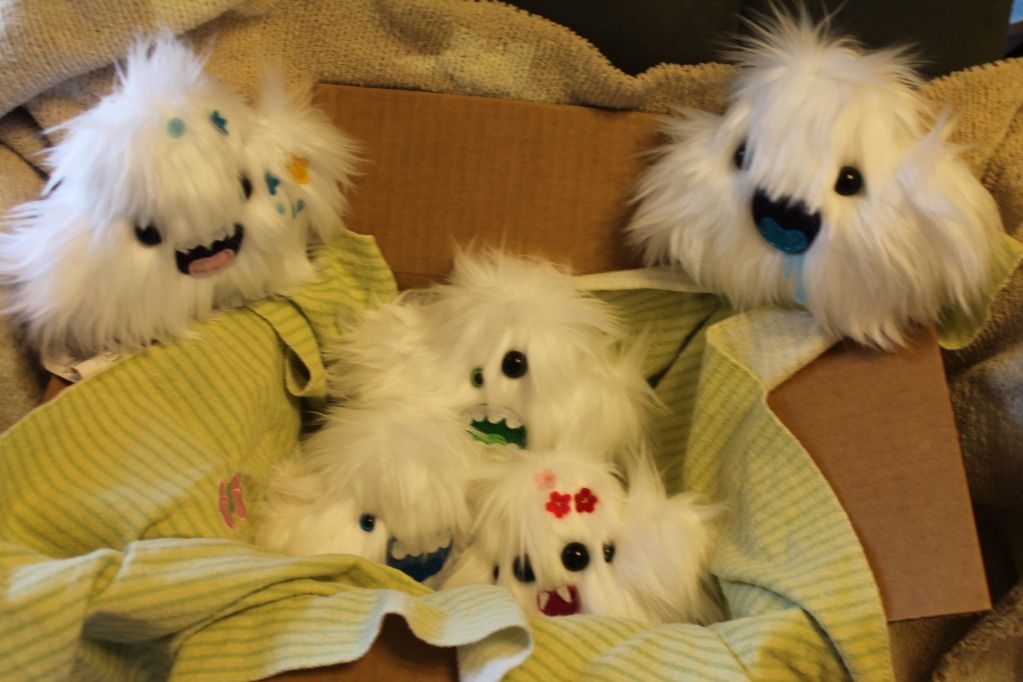
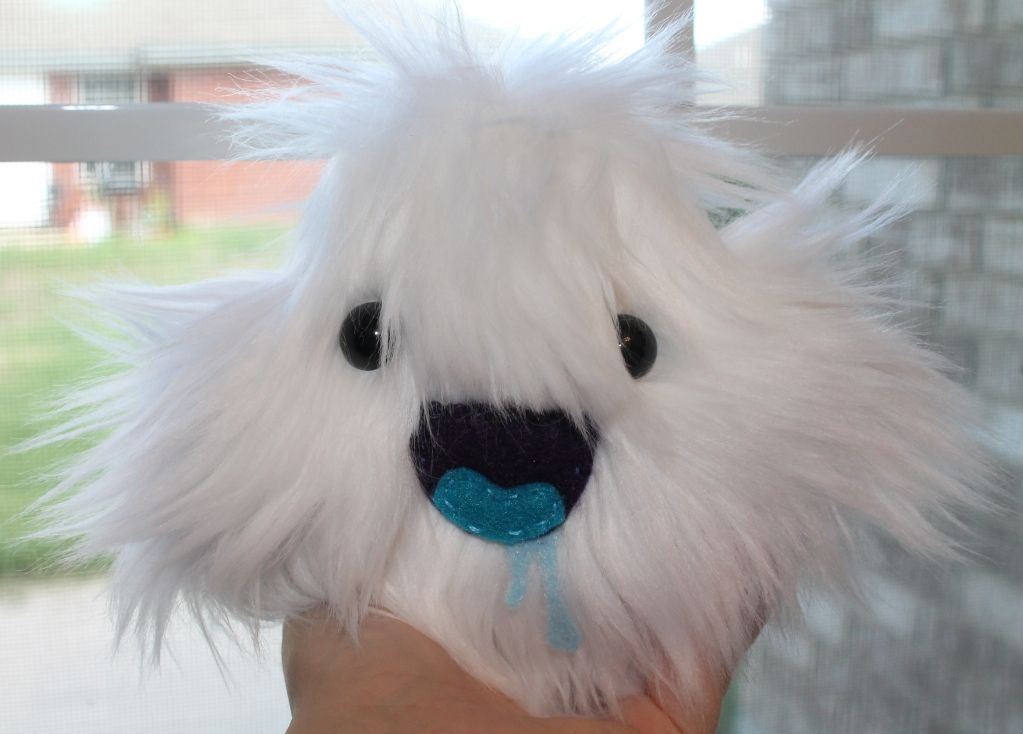
Thus is birthed, the Cloud Monster.  I have a feeling his species and I are going to get along great.  Apparently, they live in sky-caves and go birding, much like we go fishing.  Not to mention they are super cuddly and cute.  Making up all the different faces is a ton of fun.  It's great getting to see my sketches come alive in these little guys!  I sew felt pictures on the back of the larger ones to display their personality.  The babies have just plain backs, because they are still growing!


I created my pattern on cardboard (to save the pattern for multiple uses) and cut mirror images out of the faux fur for the two sides.


Designed his face in felt


and sewed him all together.  


Stuffed and fluffed!


The felt is easy to work with, and is one of my favorite fabric mediums.  It's great for a beginner if you want to start designing and making your own plushies.  You can literally draw on the felt, cut and backstitch it together if you don't know any other stitches.  The faux fur was a bit trickier, and it looked like I sheared a sheep in my living room when I was done cutting the pieces out.


I'm definitely going to make more of these.  I made about a dozen this past week and a half, and I still have about half a yard of gray faux fur in the old crafty closet that needs used up.


One of my little baby cloud monsters is already on it's way to it's new home in Ohio!  His new roomie named him Cosmo (cute!).  Yay for my Etsy's first sale! I think I'm going to send out the sketch page for each monster on his journey to his new home, so people can share in the creativity that birthed their new cloud buddy.

So long, Cosmo!


Gonna look into making a giveaway soon - stay posted!

Tuesday, July 17, 2012

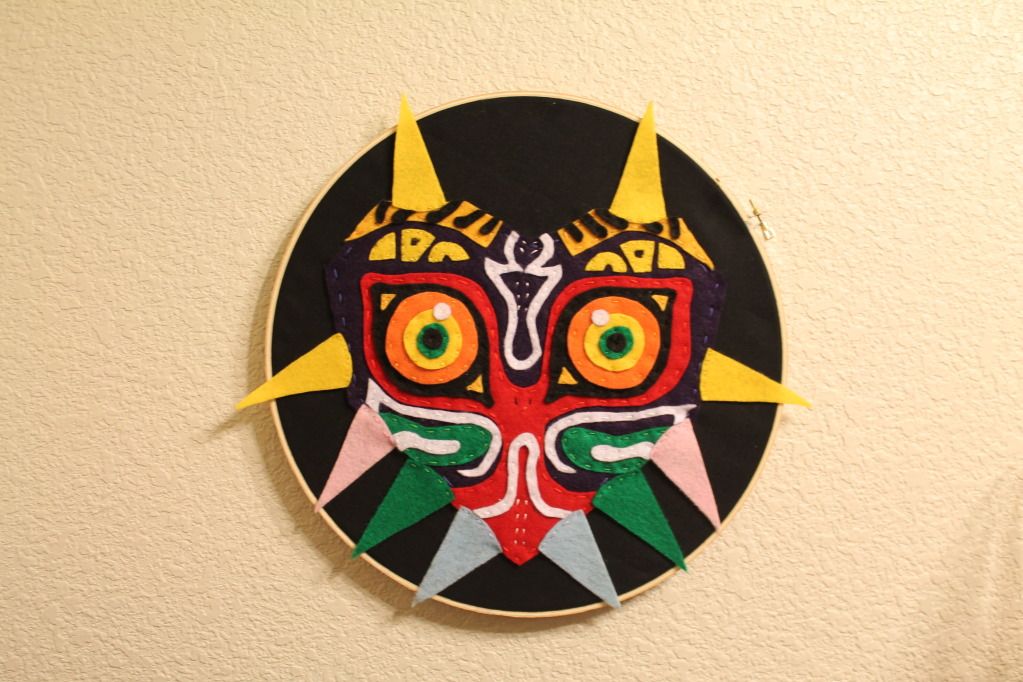
Majora's Mask Hoop Art


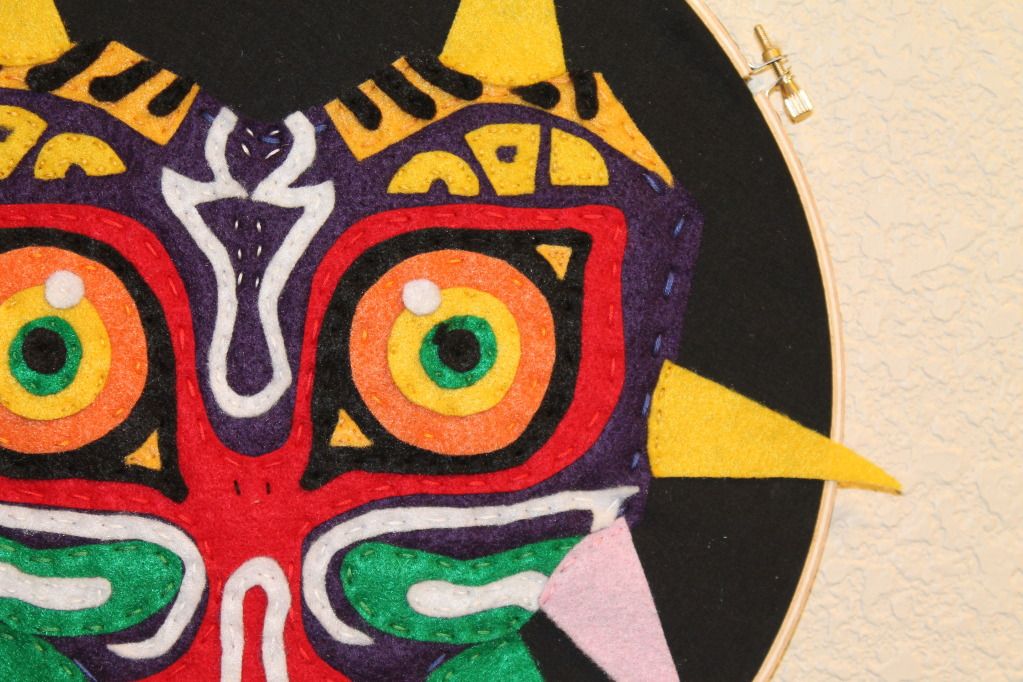
The best Zelda game, in my opinion, is Majora's Mask. It's the video game that got me into video games as a kid (and now I have a triforce tattoo). I have a lot of Nintendo decor around, but nothing Majora. Hoop art is something I've wanted to try for a while now. Mixed the two together and this is what I came up with!


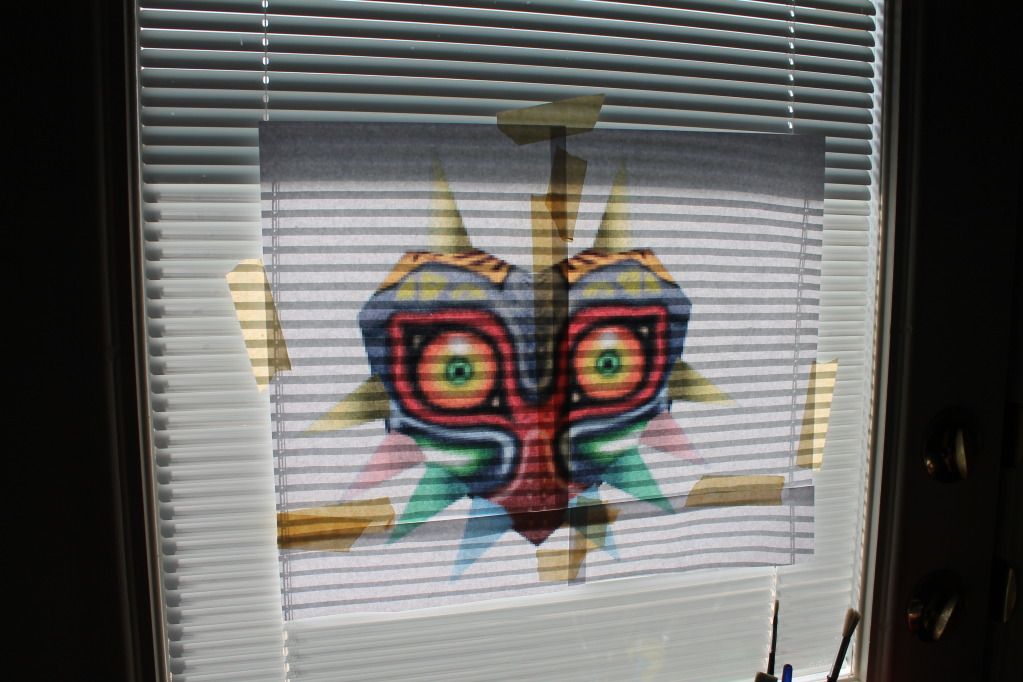
To make something like this, you simply start with the image you want to recreate in felt.  I blew up a picture of Majora's Mask and taped it to the window on the door for easy tracing.  

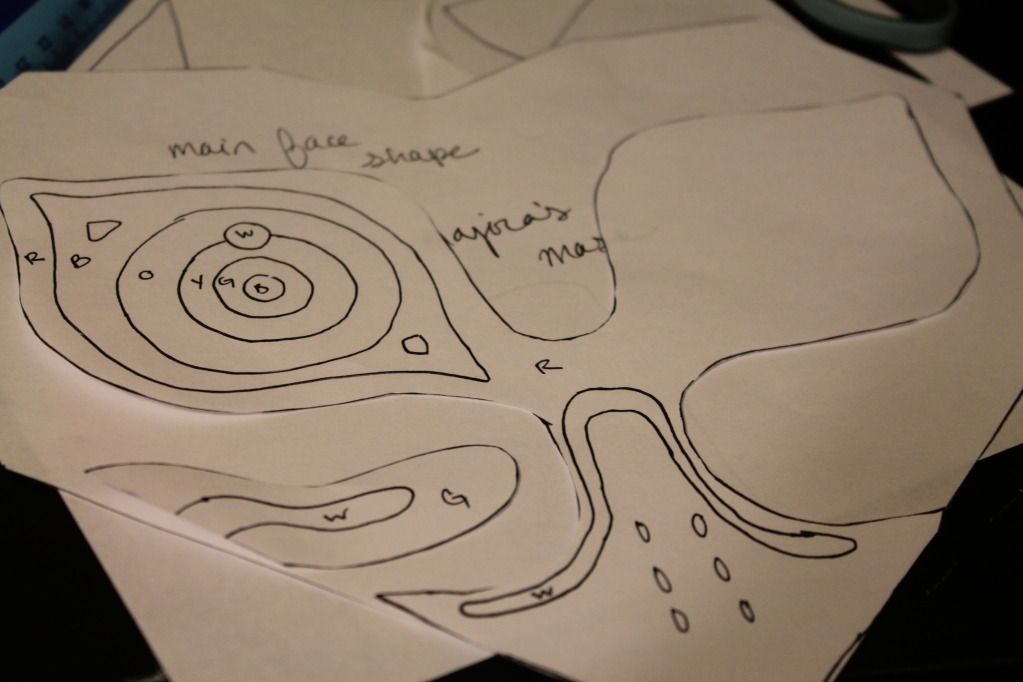
I took blank paper and traced the image onto the paper to create a pattern that I was then able to cut into the shapes of each color.  Trace the pattern on to each corresponding felt color and cut out the shapes!  It's almost like a puzzle.  It's imperative that you have an excellent sharp pair of scissors to cut the felt, or else you won't end up with clean lines, but frayed edges instead.  

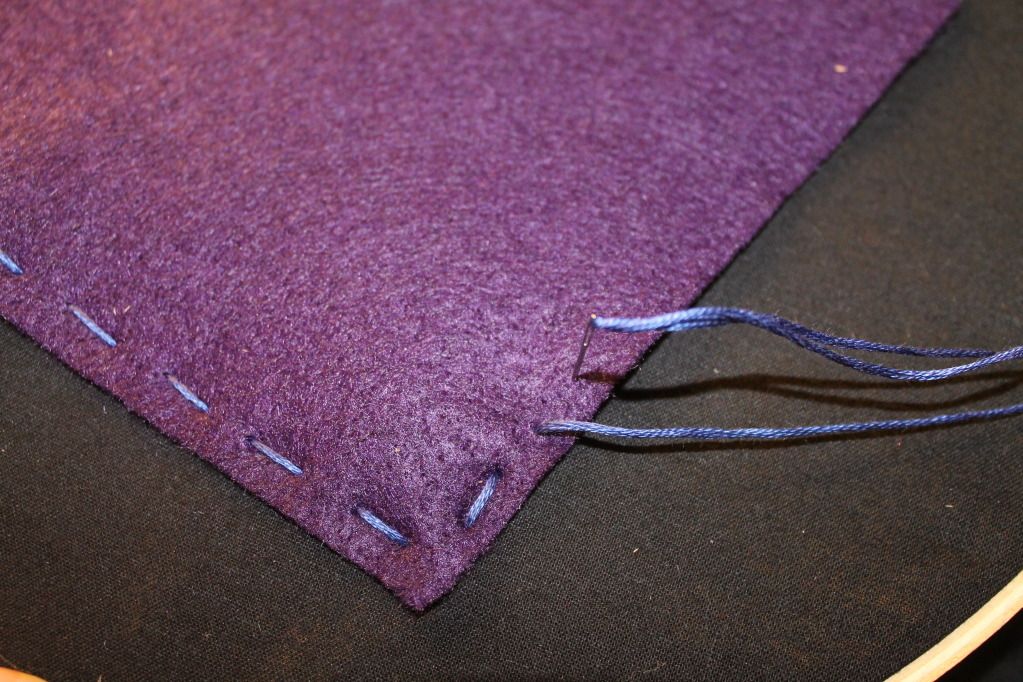
To sew the pieces together, I used DMC embroidery thread.  I sewed them onto a stretched piece of black cotton fabric in a 12" wooden hoop.  The entire process took about 15 hours, but it's so worth it. I'm going to make a few different hoops in other sizes and make a collage in my entryway.  More updates on that later, as they are complete!  I'm working on a second one of these to put on my Etsy.


Saturday, July 14, 2012

Nerd Bunny!

I've been seeing a ton of really cute felt plush animals lately, and have been dying to try my hand at it.  The kids were rather cooperative with bedtime tonight so I had time to make one!  He fits in rather well with my decor on top of my desktop, don't you think?  I'm naming him Professor Rabbity.

It was actually surprisingly easy to make.  He's entirely hand sewn and made of felt, poly-fil (stuffing), rice and DMC embroidery floss, with 6mm safety eyes.  The floss, poly-fil and felt can be picked up at any craft store, even Wal-Mart.  If your craft store doesn't carry safety eyes, you can purchase them at Glass Eyes Online.  They are the best price I have found anywhere, and I received my last order in two days, which is pretty impressive. I got about 50 pairs of eyes in assorted sizes from 6mm to 30mm for about twenty dollars.

I made my own pattern for the bunny and his glasses, and cut it out on the cardboard from a 12 pack of soda we had in the garage.  That way, I have a pattern for next time I need to make a bunny like Professor Rabbity, and I won't have to remeasure him ever again.  I simply cut the pattern out of the felt, then decorated his front before sewing him together.


I stitched a few mathematical equations and math problems on his body so he wouldn't look so plain. All the writing is done in a simple back stitch. I added the safety eyes and sewed on his glasses, then stitch him together with the outside facing in. I left a two inch hole in his side, flipped him inside out so the seams were hidden, and stuffed him up! I boxed out the bottom of the bunny and filled it with rice so it would be weighed down and stand up.

Overall, I'm really pleased with him and he's even stable enough where I'd let my two year old play with him (with supervision of course).  This bunny's ears were pretty difficult to push through when I was flipping him inside out, though... so the next bunny is going to need a bit thicker ears.


Sunday, July 1, 2012

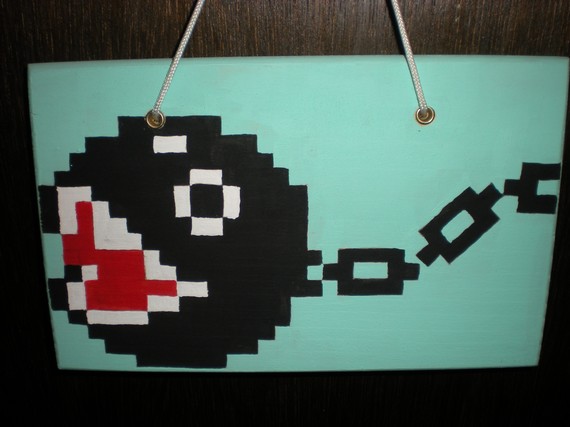
Chain Chomp Sign

We are in the process of redecorating my two year old's bedroom into a Nintendo theme.  He loves Mario!  He calls him "Mar-ro".  With the birth of our twins a few weeks ago, I want him to have his own personalized space so I decided to make him a room sign.  I love the look of pixel art, so after scouring the internet for a while I found this picture on one of my favorite sites, Sprite Stitch!


I love the chain chomp, but didn't love the holes so much, and the pixels were painted a bit messy in my opinion.  So I took the idea and made it into my own!

I picked up a few materials at my local hobby store (favorite store EVER).  For this project I used:


  1.  a 6x12 wood plaque
  2. a small bag of wooden letters
  3. acrylic paints
  4. gloss gel medium
  5. brushes
  6. a pen
  7. hot glue
  8. a ruler
Total project time, start to finish:  7 hours

Before I begin, I have to tell you... pixel art is a lot harder than it looks if you want it to look right.  You have to make your own pattern if you can't find one, make sure your grid is right and straight, and it takes tons of layers of paint.  But past all the complaining, it looks awesome if it's done right.

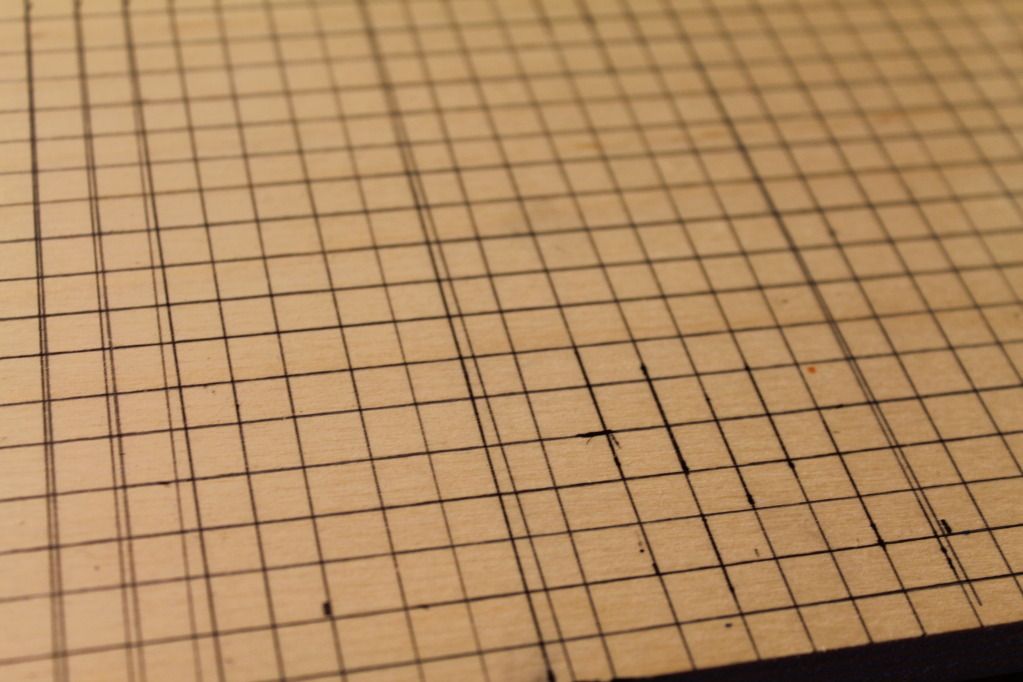
I started out making the grid on my plaque.  I like to use ink because it won't mix in with the paint, like lead tends to do.  If you use pencil, the white paint especially will become tinted a bit gray. 

The grid


The grid gave me a few issues, as you can see from the multiple tracings per line, but I got it right in the end.  

Next is transferring the pattern onto the grid.  For those of you who have used a cross stitch pattern before, the idea is fairly similar.  Give each color a letter or symbol, then where that color needs to be put the symbol in the corresponding box.

Transferring the pattern to the grid

With this particular pattern, a piece of the pixel image is diagonal so it takes a bit of extra effort.  After the chain chomp's is mapped out, and the first chain loop, there is a diagonal chain.  So we have to actually grid diagonally over the grid we have.  Using the same measurements from the main grid, just follow the diagonal lines on the grid where you need the chain to be and create a diagonal grid.  Use those math skills!

Sounds complicated?  Yeah, kind of is.

After finishing up the grid and transferring the rest of the pattern over... the fun part starts!  Painting!  I chose a similar light blue for the background that the original painting had.  I mixed a light blue with gloss gel medium so I wouldn't have to use so much paint and so many layers.  Never used gloss gel medium?  It's a paint thickener.  I usually use it for impasto paintings (heavily textured art) but it works great for this as well.  You can find it in the acrylic paint aisle. Kind of pricey, but worth it in my opinion.

The paint, brushes and mediums used for this particular project.


I used square headed brushes (of course) because I wanted to keep sharp straight edges.  This step requires tons of patience and a steady hand.  Use those yoga breathing techniques!  A larger brush worked out well for the large part of the background...

You can see that it's going to use more than one coat of paint, even with the medium added. Imagine without it!


But a smaller, square detail brush was needed for the insides of the chains and other small areas.

After three layers of paint, I could move on to another color.  First black...


Then white and red.


I used the smaller square brush for all the colors of the chain chomp so I could achieve those small straight squares.  In between layers of paint and waiting for it to dry, I picked out my letters for "Noahs Room" (my son's name) and painted them a contrasting blue.  I aimed for a Mario blue, like his overalls.

Before...
After!
Once everything is dry, I attached the letters where I wanted them and ....

TA DA! Finished!
I found the little easel at my local craft store, since I didn't want to put holes in it.  It will look super awesome on his dresser when we are done redecorating!


I can custom make this sign for you, just check out my Etsy!