Showing posts with label Handmade. Show all posts

Friday, November 2, 2012

November Giveaway

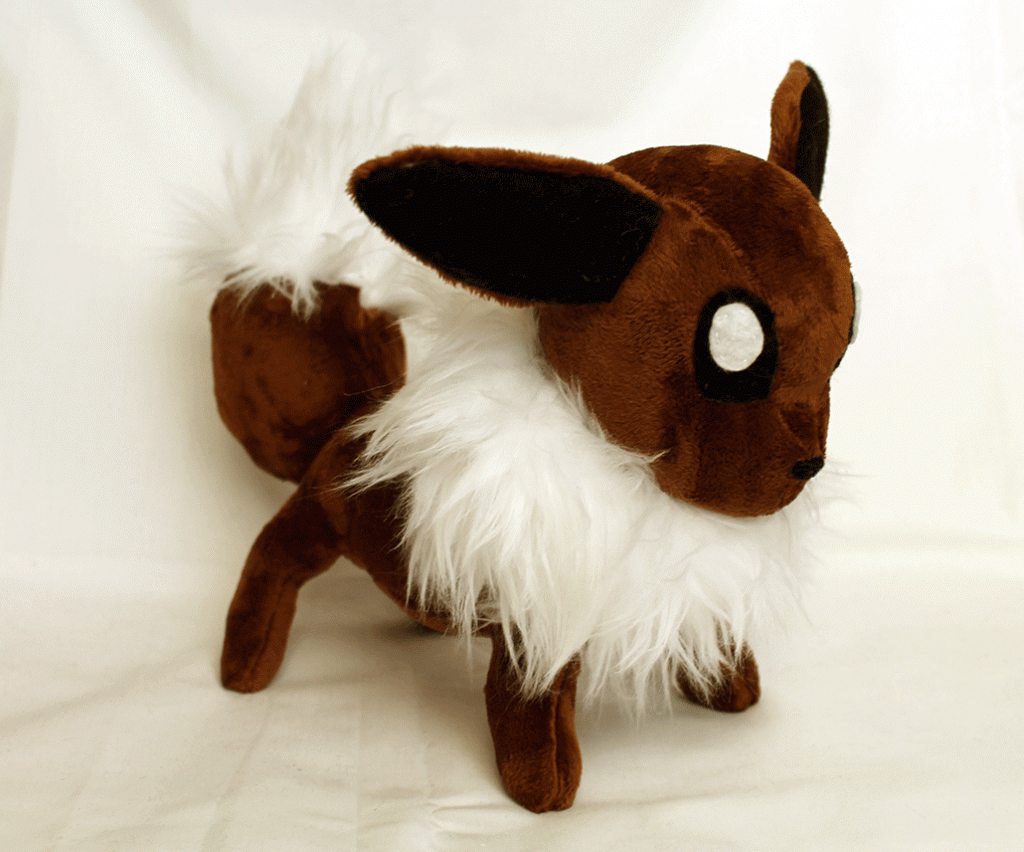
Hello everyone!  So, as you know the answer to the last "What IS That?"  game was Eevee!


Eevee was hand and machine sewn.  She has a minky brown short faux fur coat, with a white 1" faux fur ruff and tail.  Her face is hand sewn on felt!  Her legs are wire lined for stability and posing, and she is stuffed with poyfil.  She will be in the store fairly soon!  Next in the works is her sister Flareon!

Well, the November giveaway is a few days late but that is because I am in the middle of buying my first house (hooray!).  But here it is!  Since I have been very busy with home purchasing dealings, and because the holiday season is fast approaching and we can all use a little help buying gifts, I'm taking the easy route this month.  Let's do a $10 Amazon.com gift card to the winner of this month's giveaway!  


Ends 11/15/2012.  Open worldwide. All entries verified. $10 Amazon gift card to be delivered via email.  

Friday, October 19, 2012

A Feature, A Giveaway, & A Lot of New Projects

The October giveaway is over, and congratulations to the winner Ms. Jolene D.!   (woot woot!)

Also, geekyGAMERgirl is lucky enough to be featured on the blog http://www.ratherbechangingdiapers.com/!  There is a cute little piece including an interview with yours truly, and a giveaway for one item from the gGg Etsy shop!  Check it out!

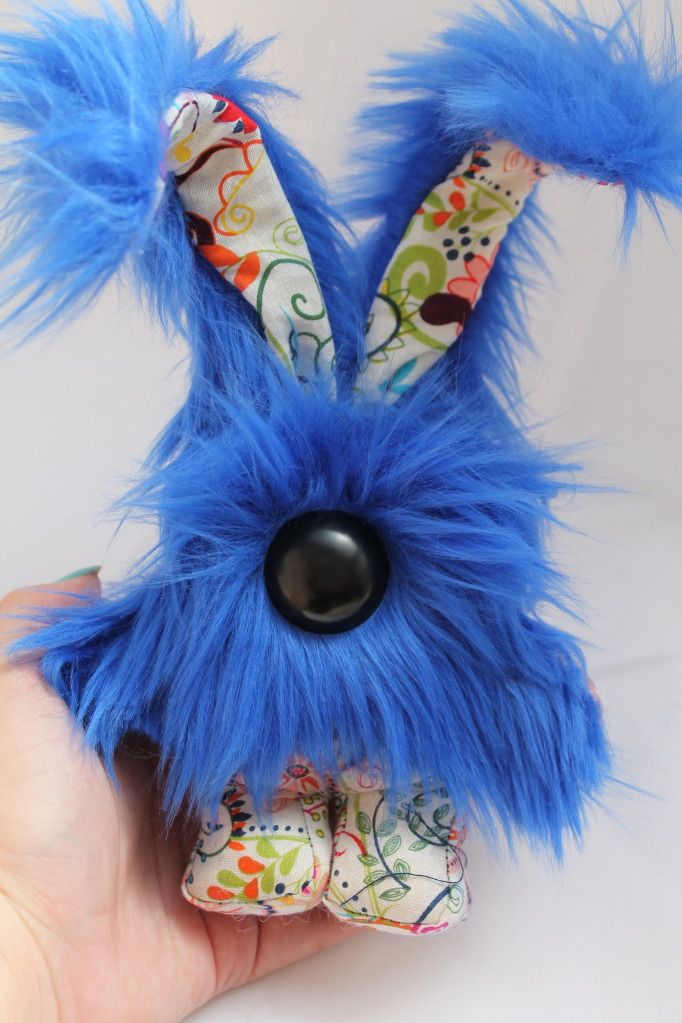
Remember this guy?


Nerd bunny extraordinaire!  Well, we recently had a chat and he told me that Sylvanas talks too much for his taste.  He'd rather live somewhere where his impeccable math skills are more appreciated.  So he will be joining the plush force for sale on the Etsy shop!    He is felt and safety eyes, hand sewn and embroidered, and weighed down with rice for easy standing!

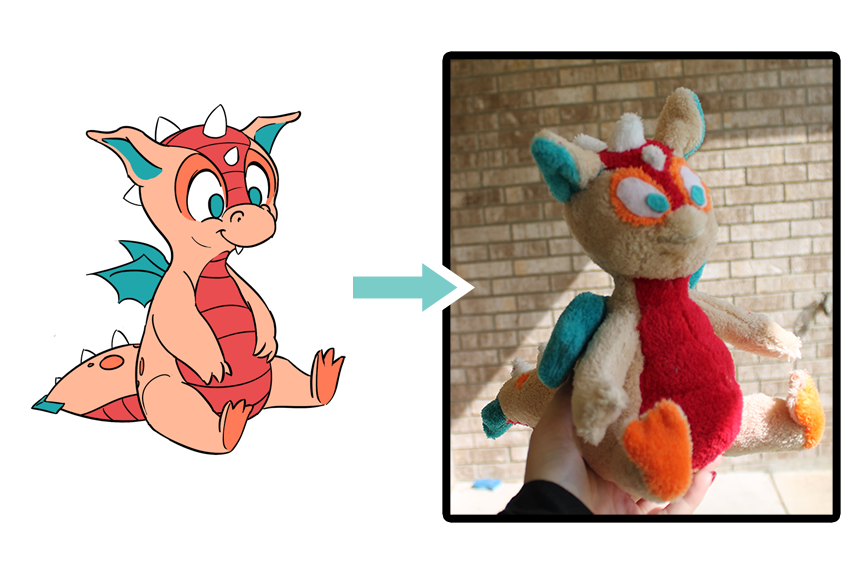
The last few weeks I have been working with a customer on a custom dragon trio.  Finally finished!!  Here is the end product.


More pics of the others on the geekyGAMERgirl FB! (Don't forget to LIKE!)


More additions are coming to the shop, as well!  We have a new Fuzz-Bun looking for a home, as well as new "Supplies" section where I will be selling off supplies I no longer need, or gallon bags full of faux fur scraps and samples.  Great for scrapbooking, small projects, ect.!


A New Game!

In an effort to keep things fun (because I love keeping things fun, who doesn't?), I'm introducing the "What IS That?" game on the geekyGAMERgirl Blogger!  Occasionally I will post a picture of a partially completed project, and if you can guess the character or monster the plush will be first in a comment on the blog, you win a 10% off coupon to the geekyGAMERgirl Plush Etsy store, as well as all the glory and bragging rights that come with being a winner! 

The plush will never be a new monster creation, it will always be a monster I have created before OR a character from a popular show/movie/cartoon.  I will also always give two clues!  If no one gets it after 24 hours, the answer will be revealed with no winner.  Ready for the first edition of "What IS That?"


What IS that?!

1.  My number is 133!
2. When I grow up, I can be one of seven different things!  

What am I?


Monday, August 20, 2012

Ultros from FFVI

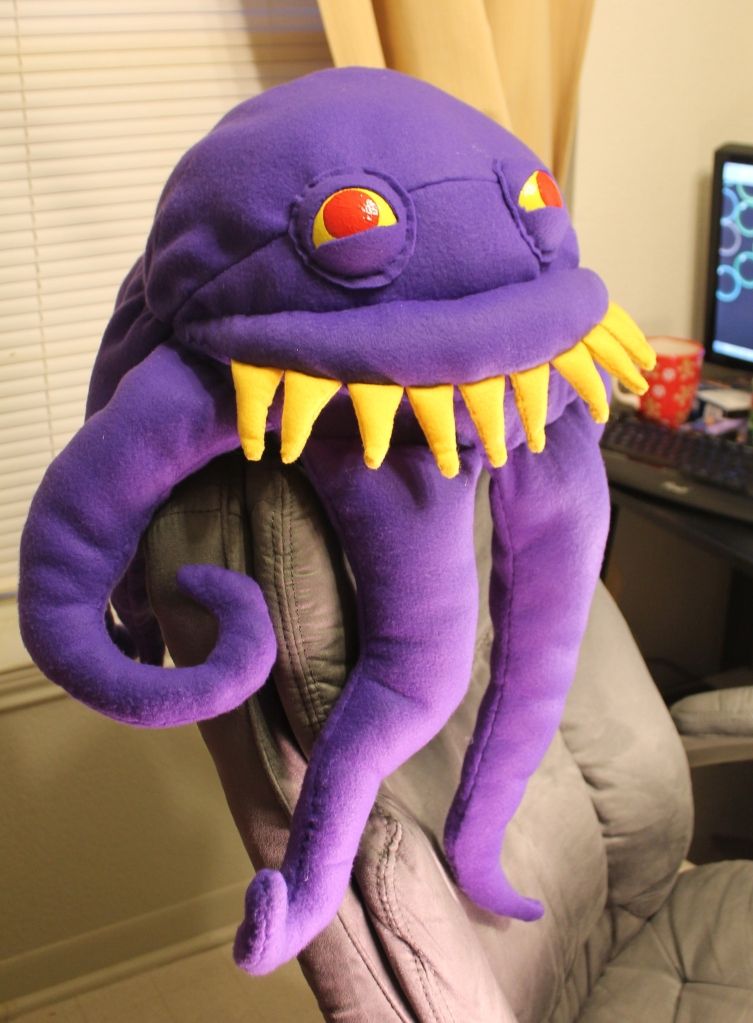
Finished Ultros!  He's the octopus from Final Fantasy VI I've been working on this week.  He ended up measuring about 3 feet in length.


I never made a plush completely from fleece, but man is it forgiving fabric!  I could even use his legs as pincushions and the holes just disappeared when I took out the pins.  He has a polar fleece body, legs and eyelids.  His teeth are 3 inches long made of felt.


The eyes were a bit tricky.  I couldn't find the right colors anywhere, so I had to customize my own safety eyes.  It's not too difficult.  I know of two ways to customize eyes.  One, if you need a black pupil you can just get clear safety eyes and paint the backs of them before applying them to the plush.  With these eyes I needed a red pupil, so I had to customize full black eyes.  I bought the largest I could find (60mm), painted them with acrylics and sealed them with clear nail polish.  The polish just needs to be applied to completely dry paint, then left for a day to dry thoroughly.  It creates a hard protective cover coat, doesn't chip easily, and makes a glassy look without the high price of buying acrylic sealant at the hobby store.  These eyes took six coats of paint (yellow on black is a nightmare) and three coats of polish.


 I honestly think he turned out amazing!  Here's the picture that I had to work with:


Hand sewing this took a while, though.  Glad I'll be getting my new sewing machine soon!!!  On that note::

KICKSTARTER UPDATE!


I met my $500 goal in ONE day!  It's amazing!  I didn't know people would love my plushies so much, but I'm honored they do.  It's truly what I want to do with my career, and launching this business means so much to me.  It will help me do something I love, as well as help support my three beautiful babies!  My husband is so supportive as well :)

My next goal is $1200.  Seems like a bit of a stretch (more than double what I wanted initially) but with 11 days left, I'm already over $900!!  With that extra $700 I could go to my first professional craft show and do business face to face with customers.  It would do WONDERS for my business!  That amount would cover rental fees, display cases, material for product, and transportation.  Here's to hoping!

And a braggy mom moment to end this post:


My twins rockin their chuck taylors! They will be four months old on the 23rd. Hard to imagine!  Also hard to imagine their brother will be 2 next month!!

Wednesday, July 25, 2012

Free Giveaway!

I opened up a geekyGAMERgirl Facebook page! Woo!  To celebrate, let's do a giveaway.  That's right... free stuff!


a Rafflecopter giveaway

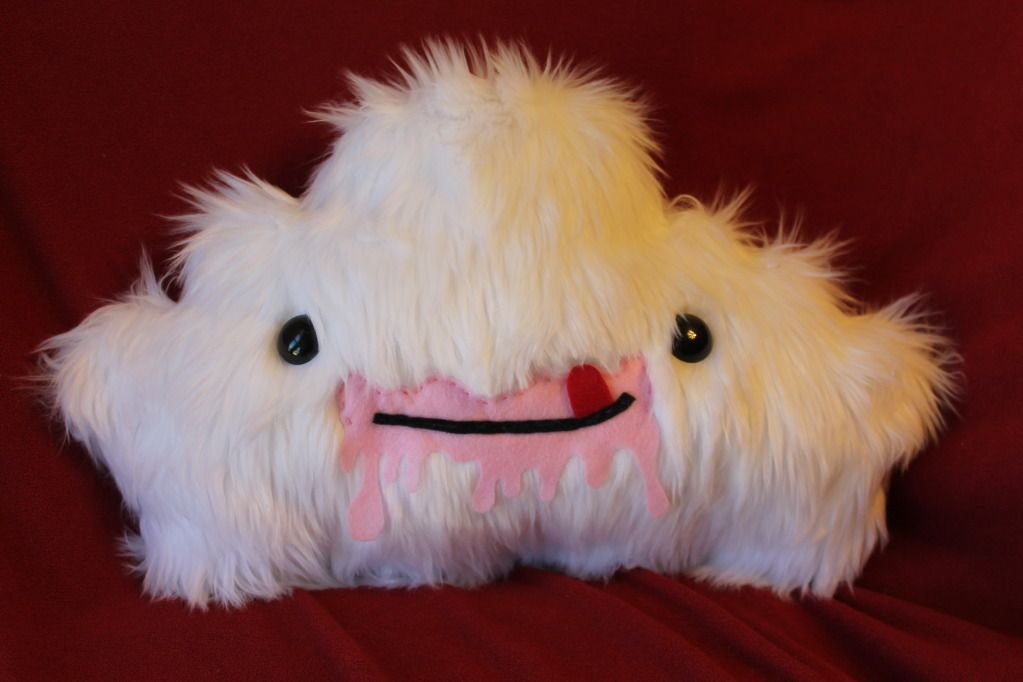
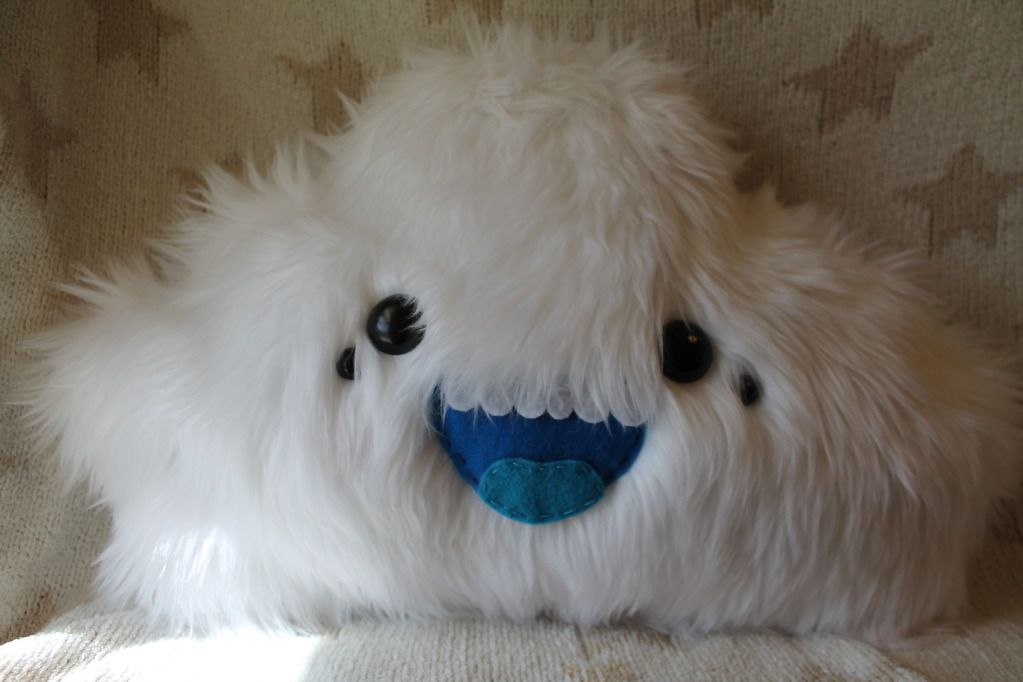
For participating in this giveaway, you will be entered in to win one CUSTOM baby cloud monster!  You will be able to pick your monster's face coloring and style (any color), fur coloring (white or gray) and number of eyes and size of eyes. You just tell me what you want your baby cloud monster to look like... I'll create it for free for the winner! (free shipping too!)

This contest is only available to US residents. Ends August 8, 2012.  Winner will be announced August 9, 2012! You must "LIKE" the geekyGAMERgirl Facebook page to enter, and in order to gain access to additional ways to enter more times.

I also wanted to share how I package my monsters.  It's important to be creative in your packaging, as well as your shop items.  Here's how I do it!


I wrap up the monsters in bright colorful tissue paper, include their original sketches and a packing slip and... voila!  My husband's reaction, when I first did this, was literally "WTH Heather...?".... but I love it.  It's personal, it's creative, and it's freaking cute.

Oh! And Adora has come by from her sky-cave to find a new home, as well. You can check her out on my Etsy.


And a big shout out to Matin Lapin for featuring our very own Trevor the Thundercloud Monster in her blog,  that you can read here, and in an Etsy treasury in honor of Ilyap'a Day that you can see here!  Check out her Etsy store, too.  She has a lot of cool items, see them here!


Tuesday, July 24, 2012

The Birth of the Cloud Monster

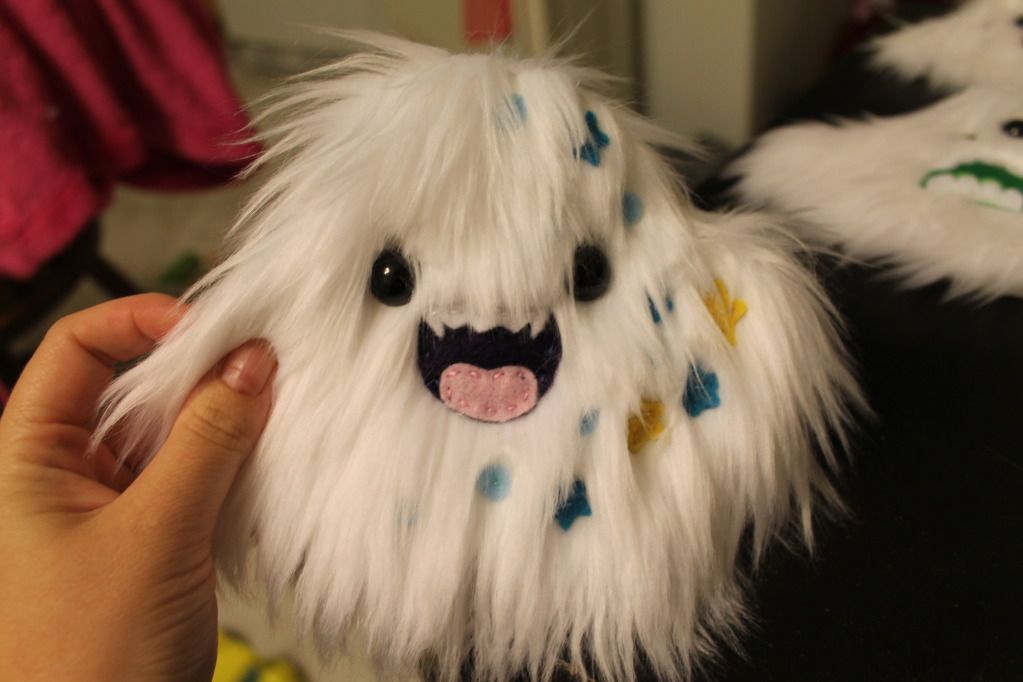
Lately, I've been sewing my fingers off.  I love making completely handmade plushies, and I've gotten rather good (if I can say so myself).  This is the first time I've worked with faux fur, and I think I'm in love.


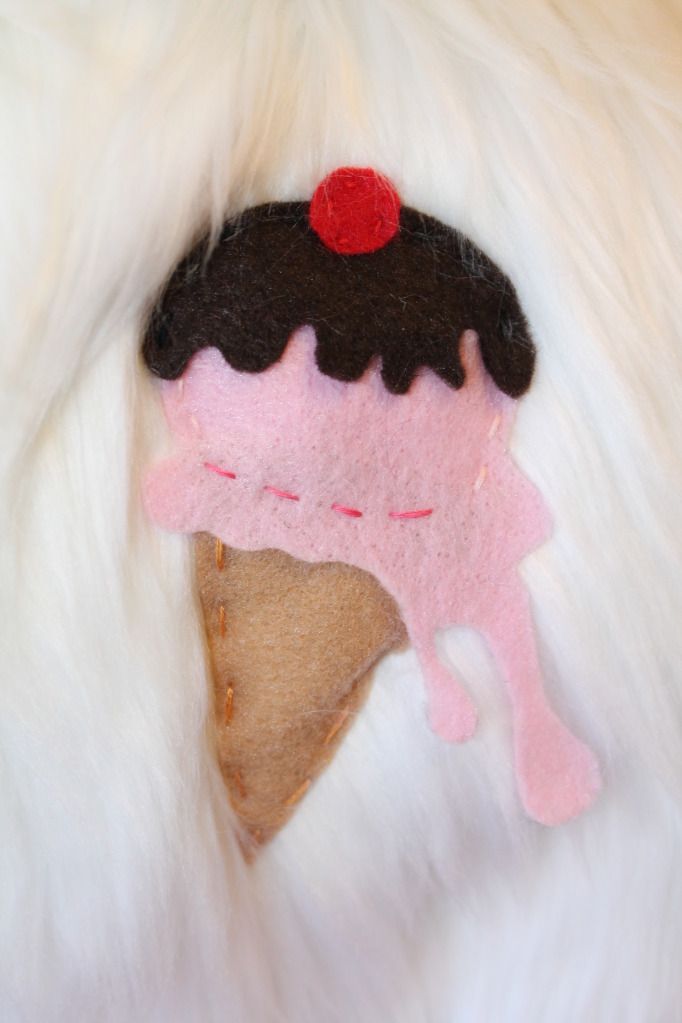
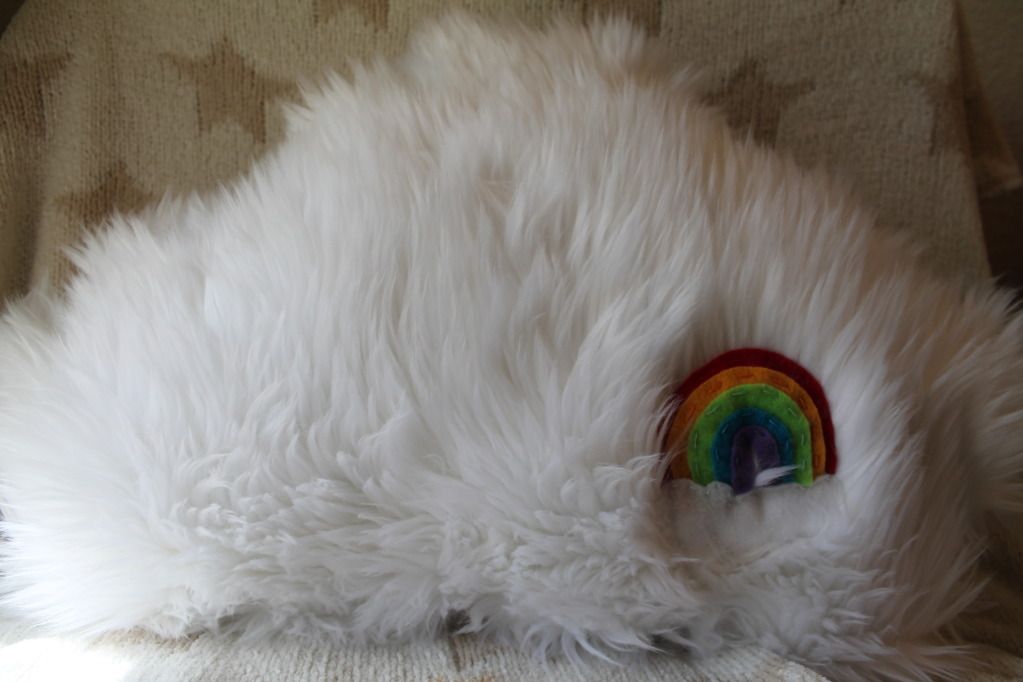
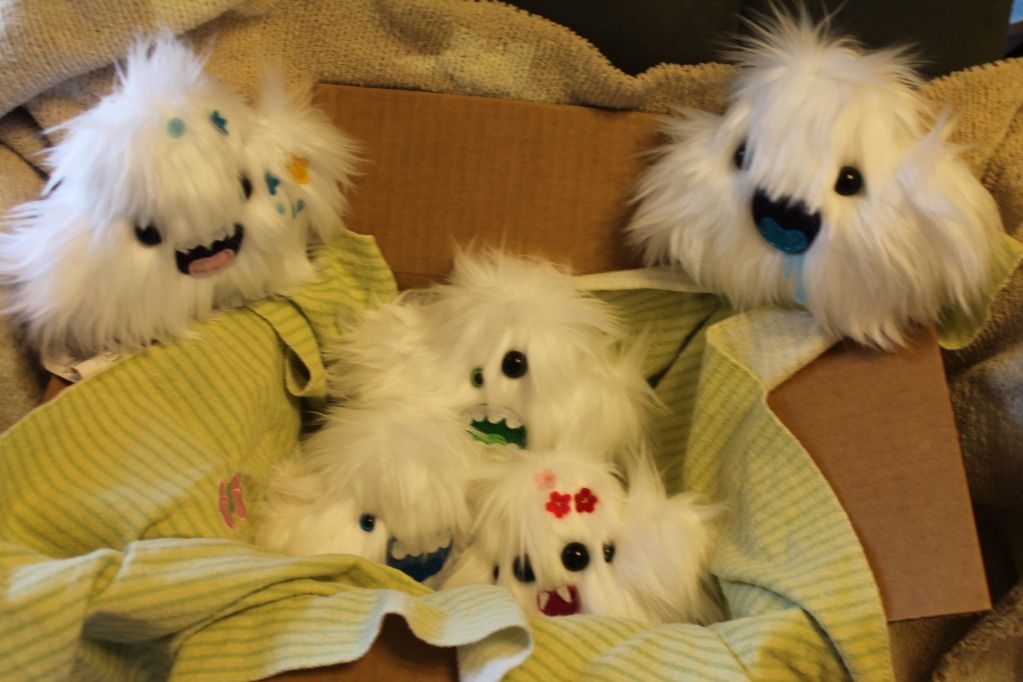
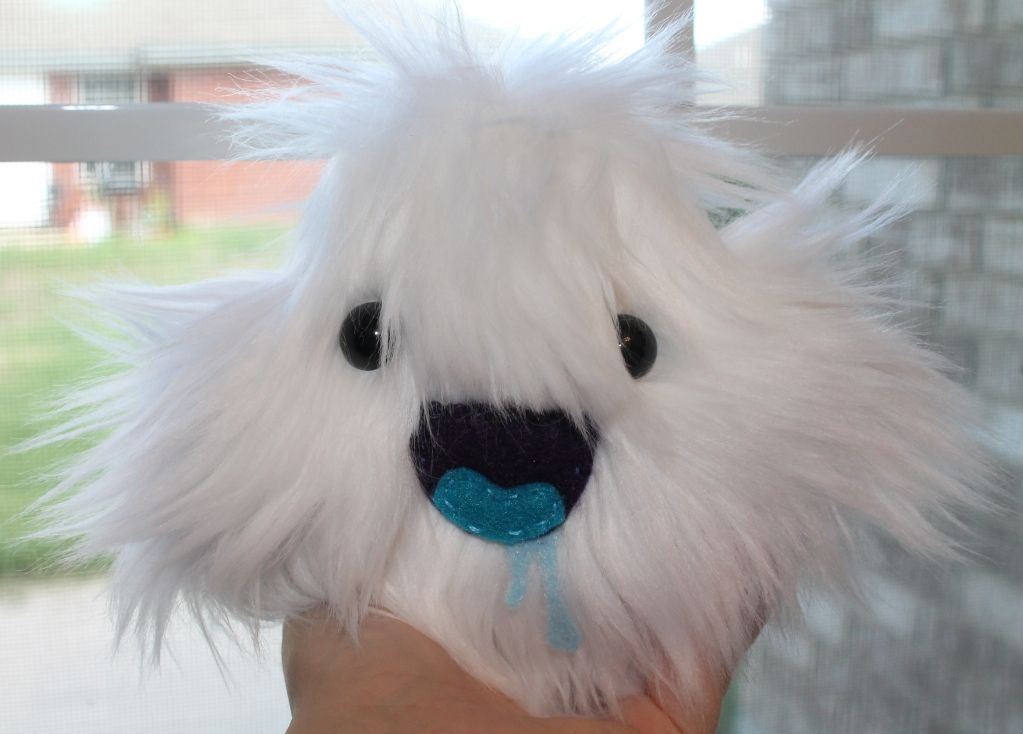
Thus is birthed, the Cloud Monster.  I have a feeling his species and I are going to get along great.  Apparently, they live in sky-caves and go birding, much like we go fishing.  Not to mention they are super cuddly and cute.  Making up all the different faces is a ton of fun.  It's great getting to see my sketches come alive in these little guys!  I sew felt pictures on the back of the larger ones to display their personality.  The babies have just plain backs, because they are still growing!


I created my pattern on cardboard (to save the pattern for multiple uses) and cut mirror images out of the faux fur for the two sides.


Designed his face in felt


and sewed him all together.  


Stuffed and fluffed!


The felt is easy to work with, and is one of my favorite fabric mediums.  It's great for a beginner if you want to start designing and making your own plushies.  You can literally draw on the felt, cut and backstitch it together if you don't know any other stitches.  The faux fur was a bit trickier, and it looked like I sheared a sheep in my living room when I was done cutting the pieces out.


I'm definitely going to make more of these.  I made about a dozen this past week and a half, and I still have about half a yard of gray faux fur in the old crafty closet that needs used up.


One of my little baby cloud monsters is already on it's way to it's new home in Ohio!  His new roomie named him Cosmo (cute!).  Yay for my Etsy's first sale! I think I'm going to send out the sketch page for each monster on his journey to his new home, so people can share in the creativity that birthed their new cloud buddy.

So long, Cosmo!


Gonna look into making a giveaway soon - stay posted!

Sunday, July 1, 2012

Chain Chomp Sign

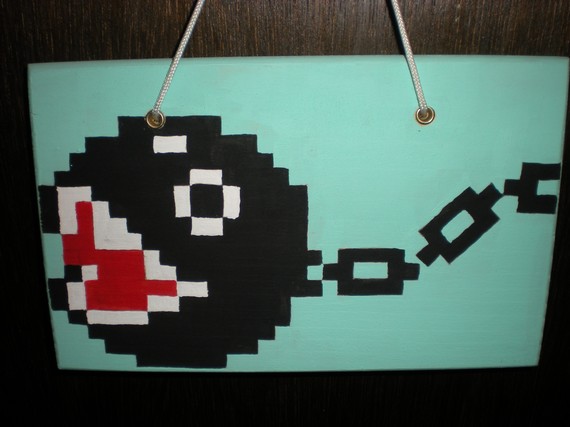
We are in the process of redecorating my two year old's bedroom into a Nintendo theme.  He loves Mario!  He calls him "Mar-ro".  With the birth of our twins a few weeks ago, I want him to have his own personalized space so I decided to make him a room sign.  I love the look of pixel art, so after scouring the internet for a while I found this picture on one of my favorite sites, Sprite Stitch!


I love the chain chomp, but didn't love the holes so much, and the pixels were painted a bit messy in my opinion.  So I took the idea and made it into my own!

I picked up a few materials at my local hobby store (favorite store EVER).  For this project I used:


  1.  a 6x12 wood plaque
  2. a small bag of wooden letters
  3. acrylic paints
  4. gloss gel medium
  5. brushes
  6. a pen
  7. hot glue
  8. a ruler
Total project time, start to finish:  7 hours

Before I begin, I have to tell you... pixel art is a lot harder than it looks if you want it to look right.  You have to make your own pattern if you can't find one, make sure your grid is right and straight, and it takes tons of layers of paint.  But past all the complaining, it looks awesome if it's done right.

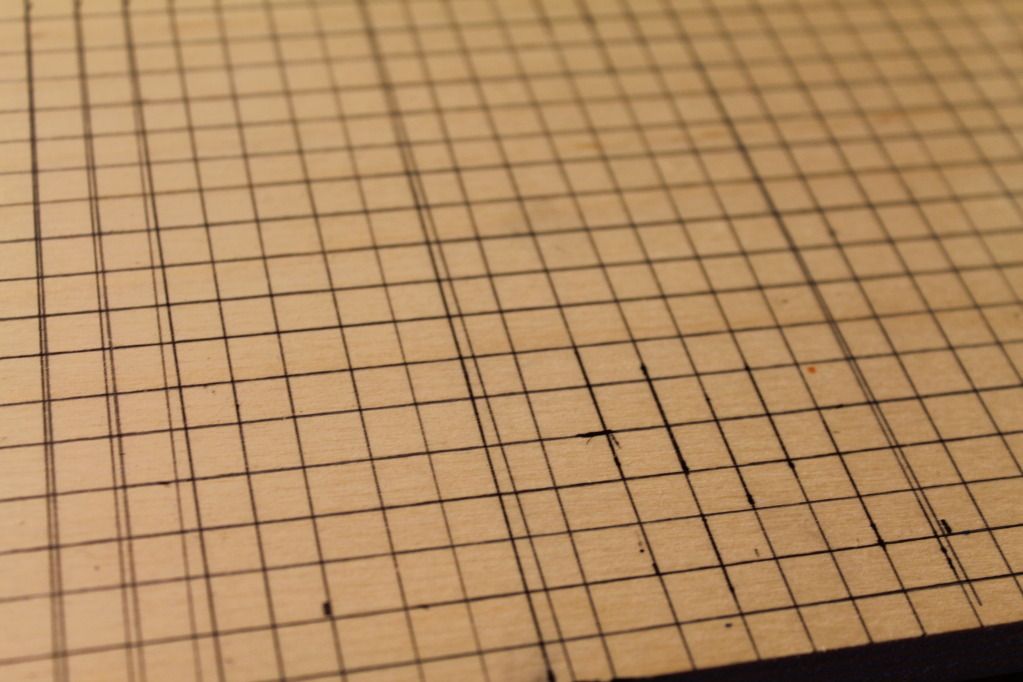
I started out making the grid on my plaque.  I like to use ink because it won't mix in with the paint, like lead tends to do.  If you use pencil, the white paint especially will become tinted a bit gray. 

The grid


The grid gave me a few issues, as you can see from the multiple tracings per line, but I got it right in the end.  

Next is transferring the pattern onto the grid.  For those of you who have used a cross stitch pattern before, the idea is fairly similar.  Give each color a letter or symbol, then where that color needs to be put the symbol in the corresponding box.

Transferring the pattern to the grid

With this particular pattern, a piece of the pixel image is diagonal so it takes a bit of extra effort.  After the chain chomp's is mapped out, and the first chain loop, there is a diagonal chain.  So we have to actually grid diagonally over the grid we have.  Using the same measurements from the main grid, just follow the diagonal lines on the grid where you need the chain to be and create a diagonal grid.  Use those math skills!

Sounds complicated?  Yeah, kind of is.

After finishing up the grid and transferring the rest of the pattern over... the fun part starts!  Painting!  I chose a similar light blue for the background that the original painting had.  I mixed a light blue with gloss gel medium so I wouldn't have to use so much paint and so many layers.  Never used gloss gel medium?  It's a paint thickener.  I usually use it for impasto paintings (heavily textured art) but it works great for this as well.  You can find it in the acrylic paint aisle. Kind of pricey, but worth it in my opinion.

The paint, brushes and mediums used for this particular project.


I used square headed brushes (of course) because I wanted to keep sharp straight edges.  This step requires tons of patience and a steady hand.  Use those yoga breathing techniques!  A larger brush worked out well for the large part of the background...

You can see that it's going to use more than one coat of paint, even with the medium added. Imagine without it!


But a smaller, square detail brush was needed for the insides of the chains and other small areas.

After three layers of paint, I could move on to another color.  First black...


Then white and red.


I used the smaller square brush for all the colors of the chain chomp so I could achieve those small straight squares.  In between layers of paint and waiting for it to dry, I picked out my letters for "Noahs Room" (my son's name) and painted them a contrasting blue.  I aimed for a Mario blue, like his overalls.

Before...
After!
Once everything is dry, I attached the letters where I wanted them and ....

TA DA! Finished!
I found the little easel at my local craft store, since I didn't want to put holes in it.  It will look super awesome on his dresser when we are done redecorating!


I can custom make this sign for you, just check out my Etsy!