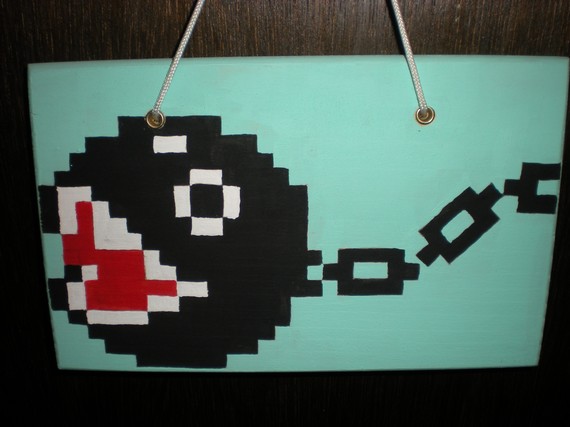
We are in the process of redecorating my two year old's bedroom into a Nintendo theme. He loves Mario! He calls him "Mar-ro". With the birth of our twins a few weeks ago, I want him to have his own personalized space so I decided to make him a room sign. I love the look of pixel art, so after scouring the internet for a while I found this picture on one of my favorite sites,
Sprite Stitch!
I love the chain chomp, but didn't love the holes so much, and the pixels were painted a bit messy in my opinion. So I took the idea and made it into my own!
I picked up a few materials at my local hobby store (favorite store EVER). For this project I used:
- a 6x12 wood plaque
- a small bag of wooden letters
- acrylic paints
- gloss gel medium
- brushes
- a pen
- hot glue
- a ruler
Total project time, start to finish: 7 hours
Before I begin, I have to tell you... pixel art is a lot harder than it looks if you want it to look right. You have to make your own pattern if you can't find one, make sure your grid is right and straight, and it takes tons of layers of paint. But past all the complaining, it looks awesome if it's done right.
I started out making the grid on my plaque. I like to use ink because it won't mix in with the paint, like lead tends to do. If you use pencil, the white paint especially will become tinted a bit gray.
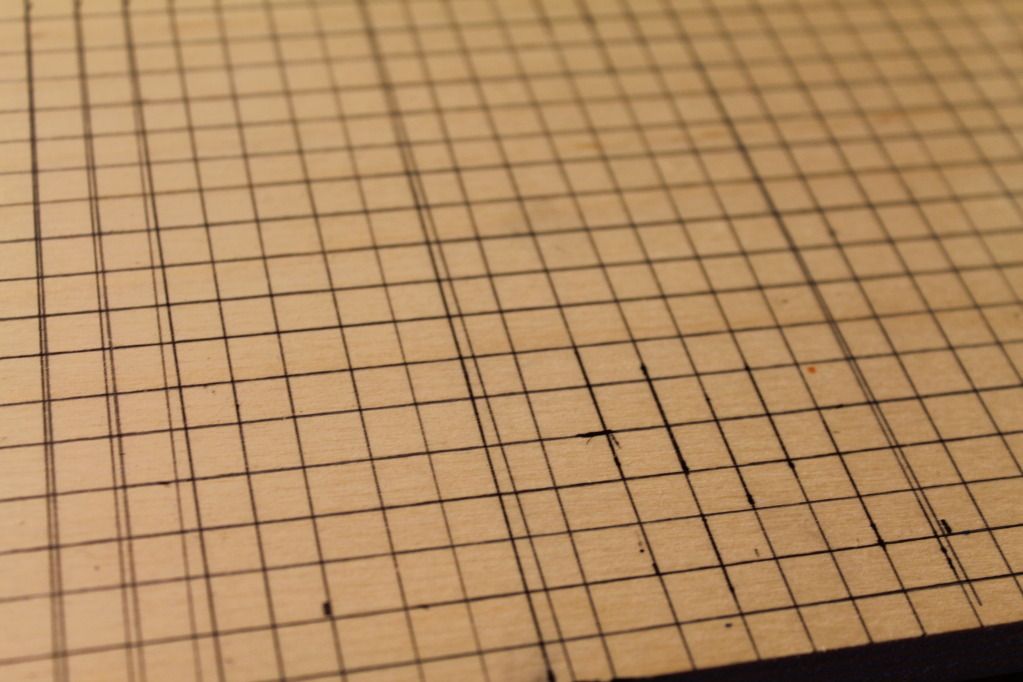 |
| The grid |
The grid gave me a few issues, as you can see from the multiple tracings per line, but I got it right in the end.
Next is transferring the pattern onto the grid. For those of you who have used a cross stitch pattern before, the idea is fairly similar. Give each color a letter or symbol, then where that color needs to be put the symbol in the corresponding box.
 |
| Transferring the pattern to the grid |
With this particular pattern, a piece of the pixel image is diagonal so it takes a bit of extra effort. After the chain chomp's is mapped out, and the first chain loop, there is a diagonal chain. So we have to actually grid diagonally over the grid we have. Using the same measurements from the main grid, just follow the diagonal lines on the grid where you need the chain to be and create a diagonal grid. Use those math skills!
 |
| Sounds complicated? Yeah, kind of is. |
After finishing up the grid and transferring the rest of the pattern over... the fun part starts! Painting! I chose a similar light blue for the background that the original painting had. I mixed a light blue with gloss gel medium so I wouldn't have to use so much paint and so many layers. Never used gloss gel medium? It's a paint thickener. I usually use it for impasto paintings (heavily textured art) but it works great for this as well. You can find it in the acrylic paint aisle. Kind of pricey, but worth it in my opinion.
 |
| The paint, brushes and mediums used for this particular project. |
I used square headed brushes (of course) because I wanted to keep sharp straight edges. This step requires tons of patience and a steady hand. Use those yoga breathing techniques! A larger brush worked out well for the large part of the background...
 |
| You can see that it's going to use more than one coat of paint, even with the medium added. Imagine without it! |
But a smaller, square detail brush was needed for the insides of the chains and other small areas.
After three layers of paint, I could move on to another color. First black...
Then white and red.
I used the smaller square brush for all the colors of the chain chomp so I could achieve those small straight squares. In between layers of paint and waiting for it to dry, I picked out my letters for "Noahs Room" (my son's name) and painted them a contrasting blue. I aimed for a Mario blue, like his overalls.
 |
| Before... |
 |
| After! |
Once everything is dry, I attached the letters where I wanted them and ....
 |
| TA DA! Finished! |
I found the little easel at my local craft store, since I didn't want to put holes in it. It will look super awesome on his dresser when we are done redecorating!
I can custom make this sign for you, just check out my Etsy!


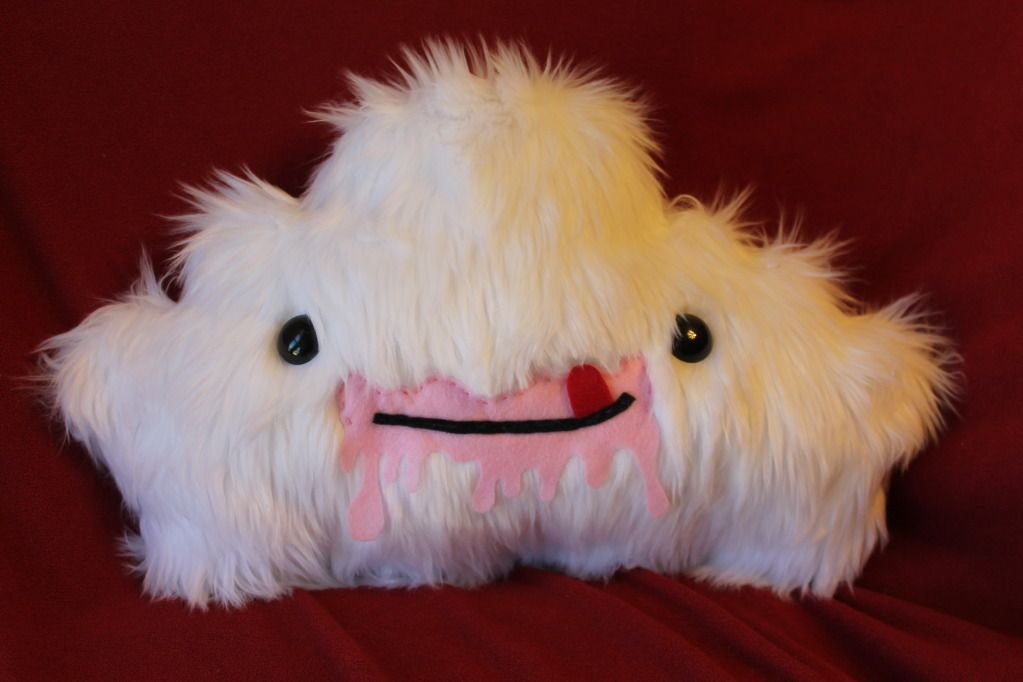


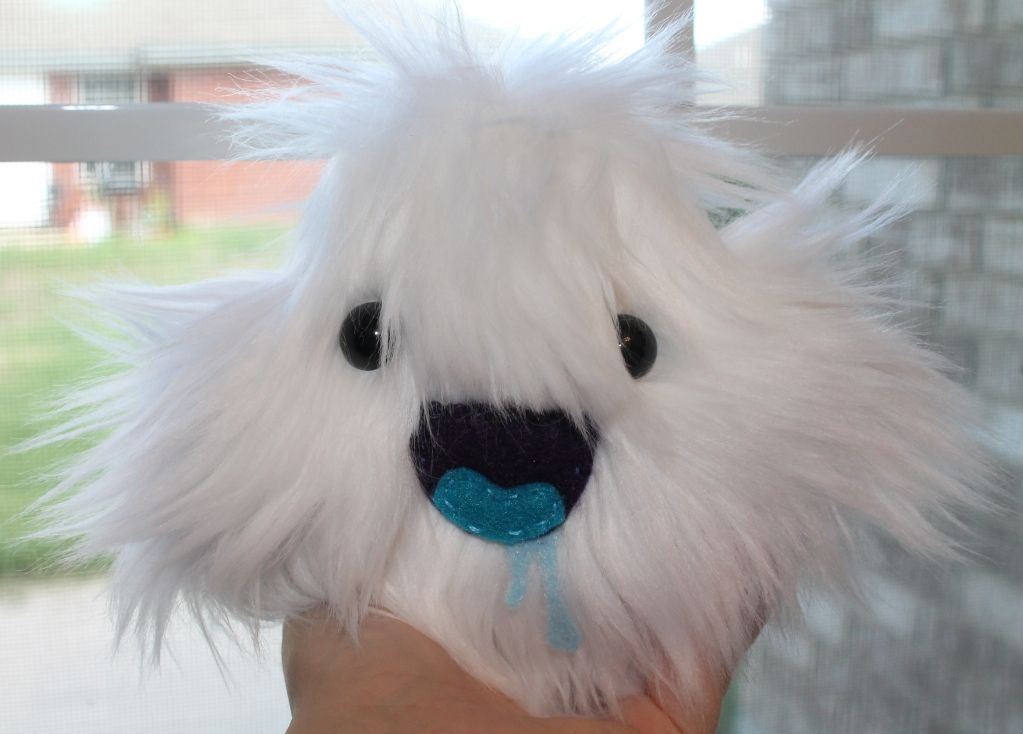

 I've been seeing a ton of really cute felt plush animals lately, and have been dying to try my hand at it. The kids were rather cooperative with bedtime tonight so I had time to make one! He fits in rather well with my decor on top of my desktop, don't you think? I'm naming him Professor Rabbity.
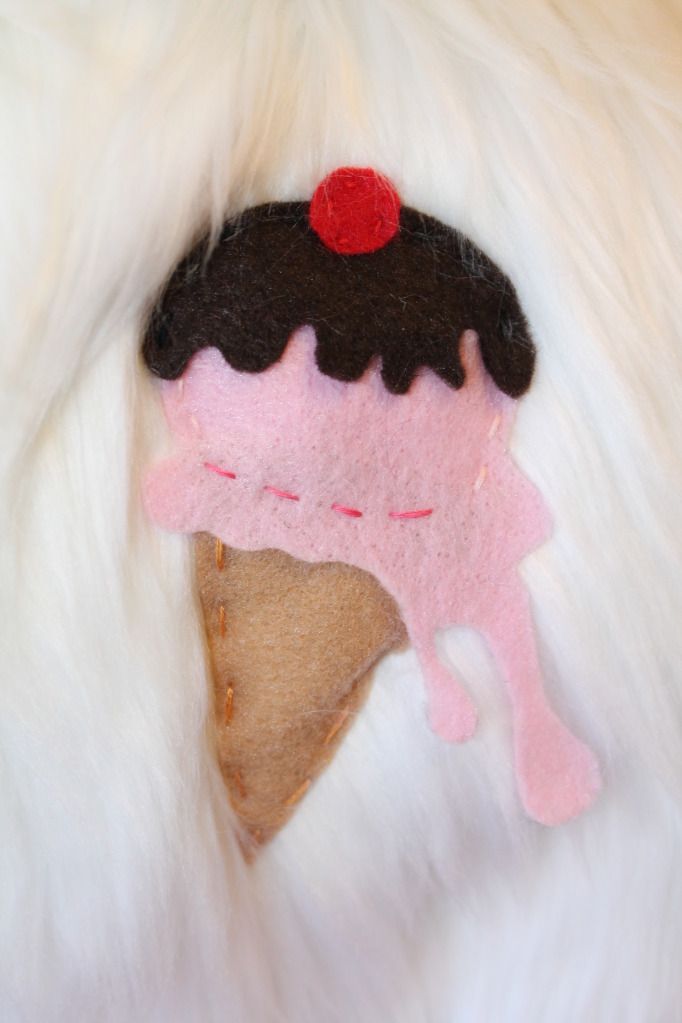
 I made my own pattern for the bunny and his glasses, and cut it out on the cardboard from a 12 pack of soda we had in the garage. That way, I have a pattern for next time I need to make a bunny like Professor Rabbity, and I won't have to remeasure him ever again. I simply cut the pattern out of the felt, then decorated his front before sewing him together.